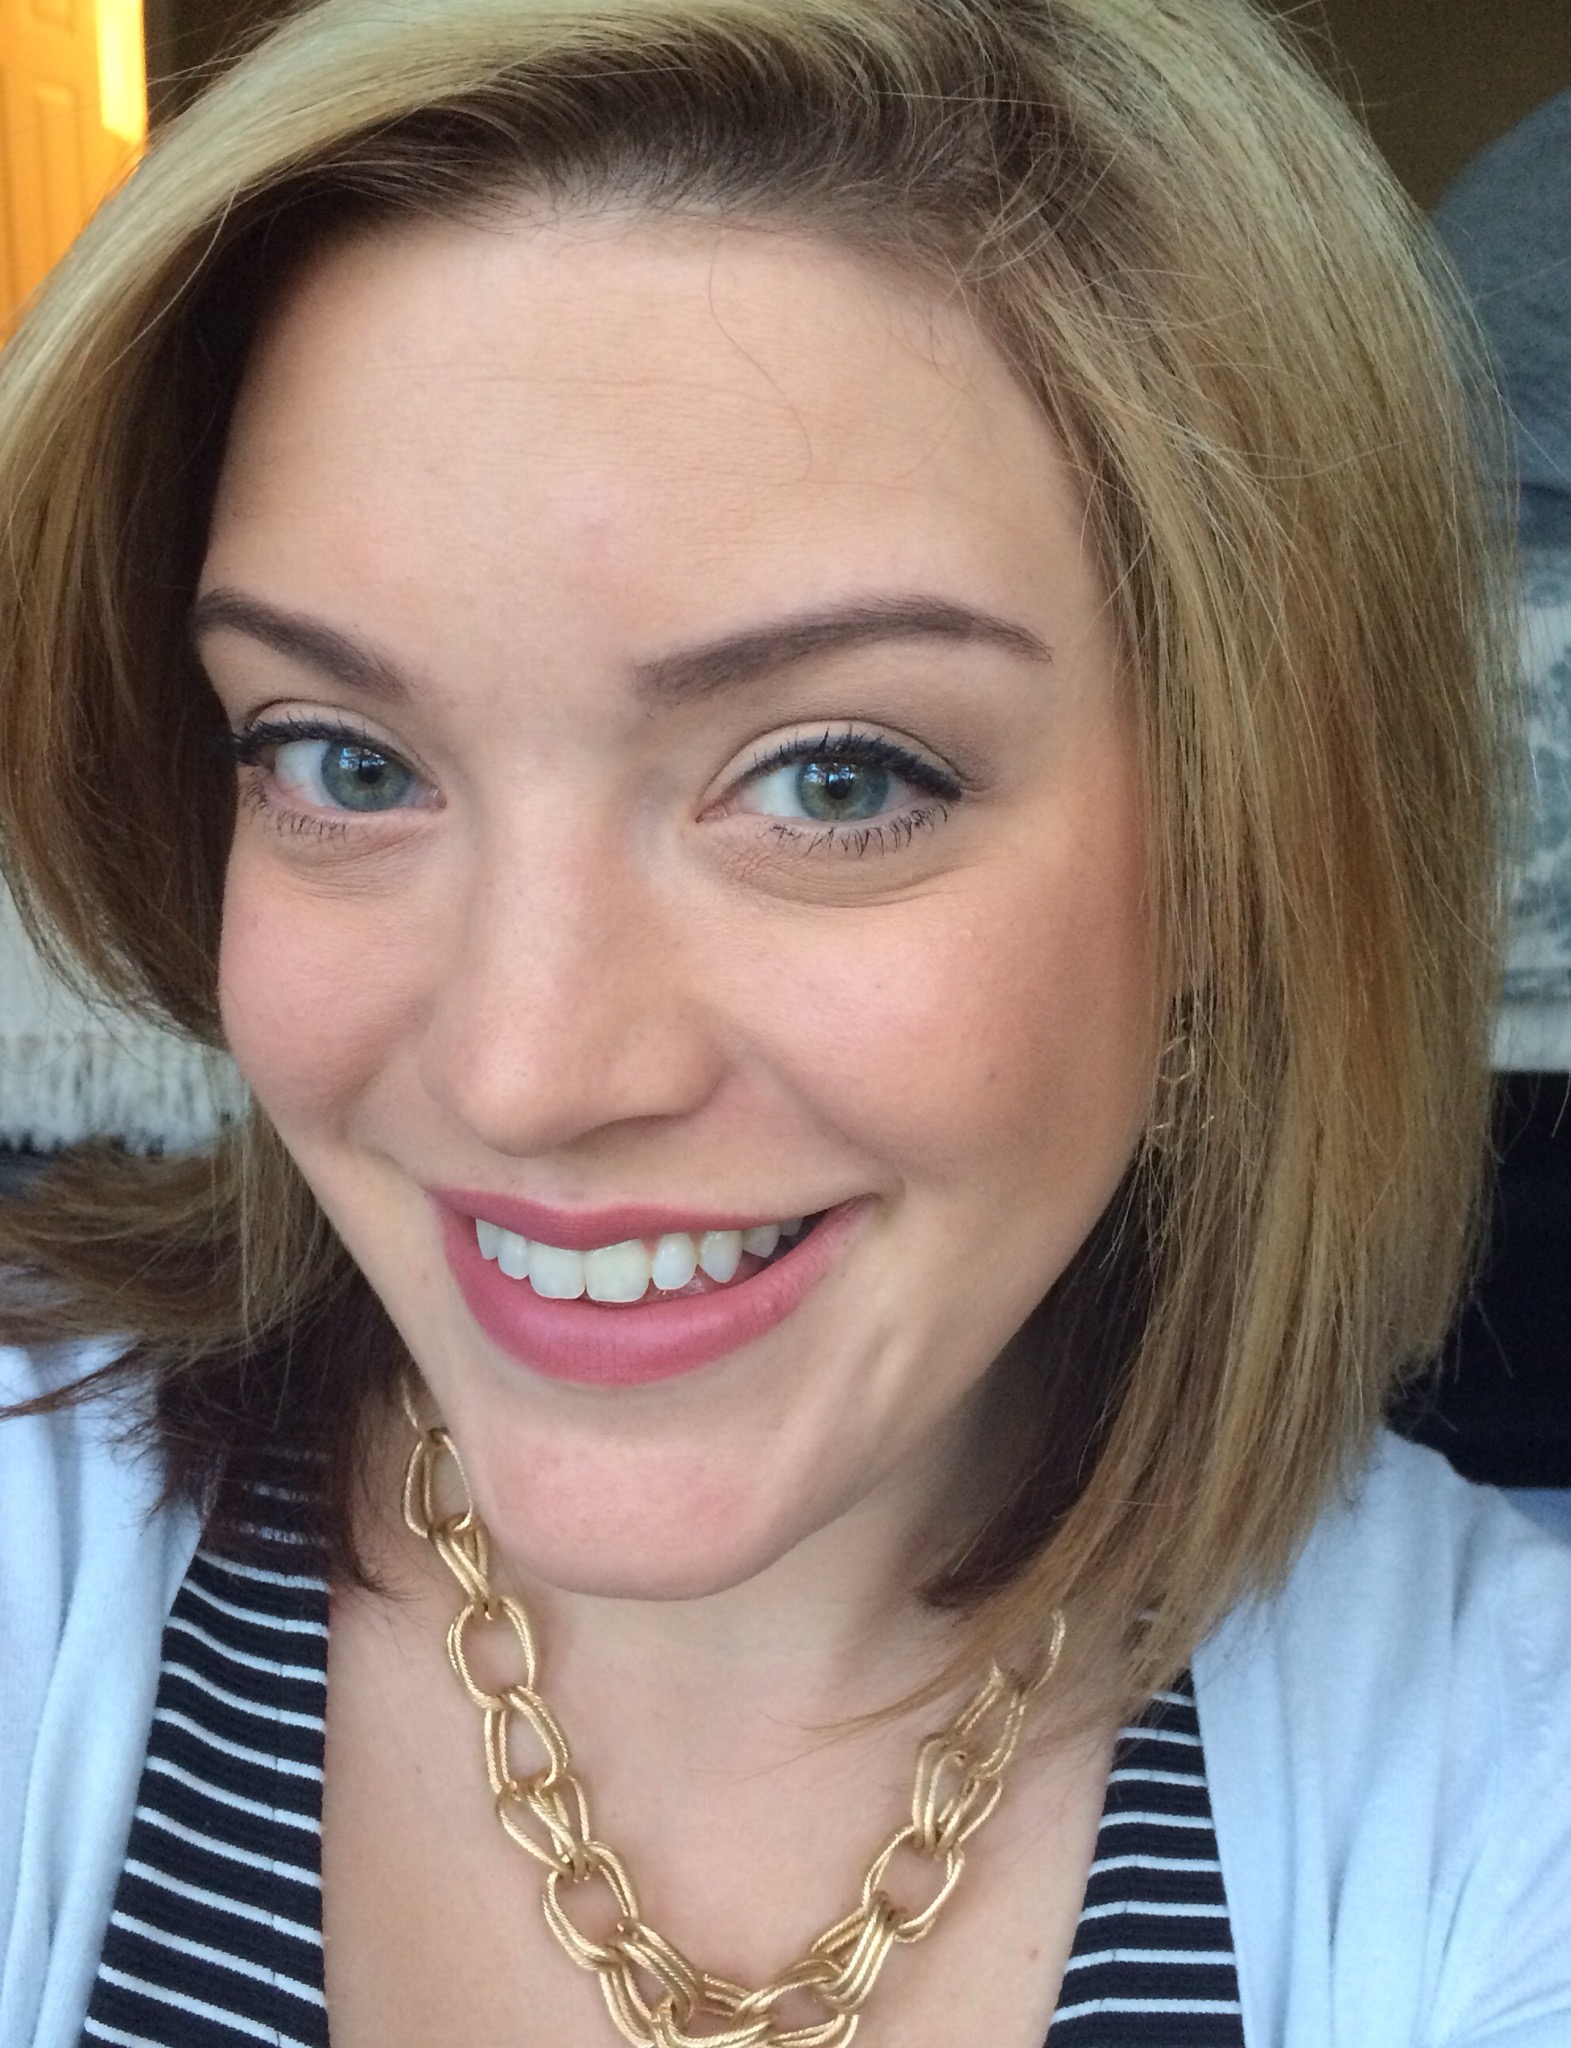
I try to mix up different makeup looks for the weekend, but I typically keep it pretty simple and consistent for the office. I shy away from anything too shimmery, too dark, or too heavy. Don’t get me wrong… I love a nice, dark smokey eye and red lip, but it is not the most appropriate look for the Financial industry. Here is a step-by-step pictorial of how I do my every day look!
The first and most important step is to moisturize. So slather on your moisturizer of choice.
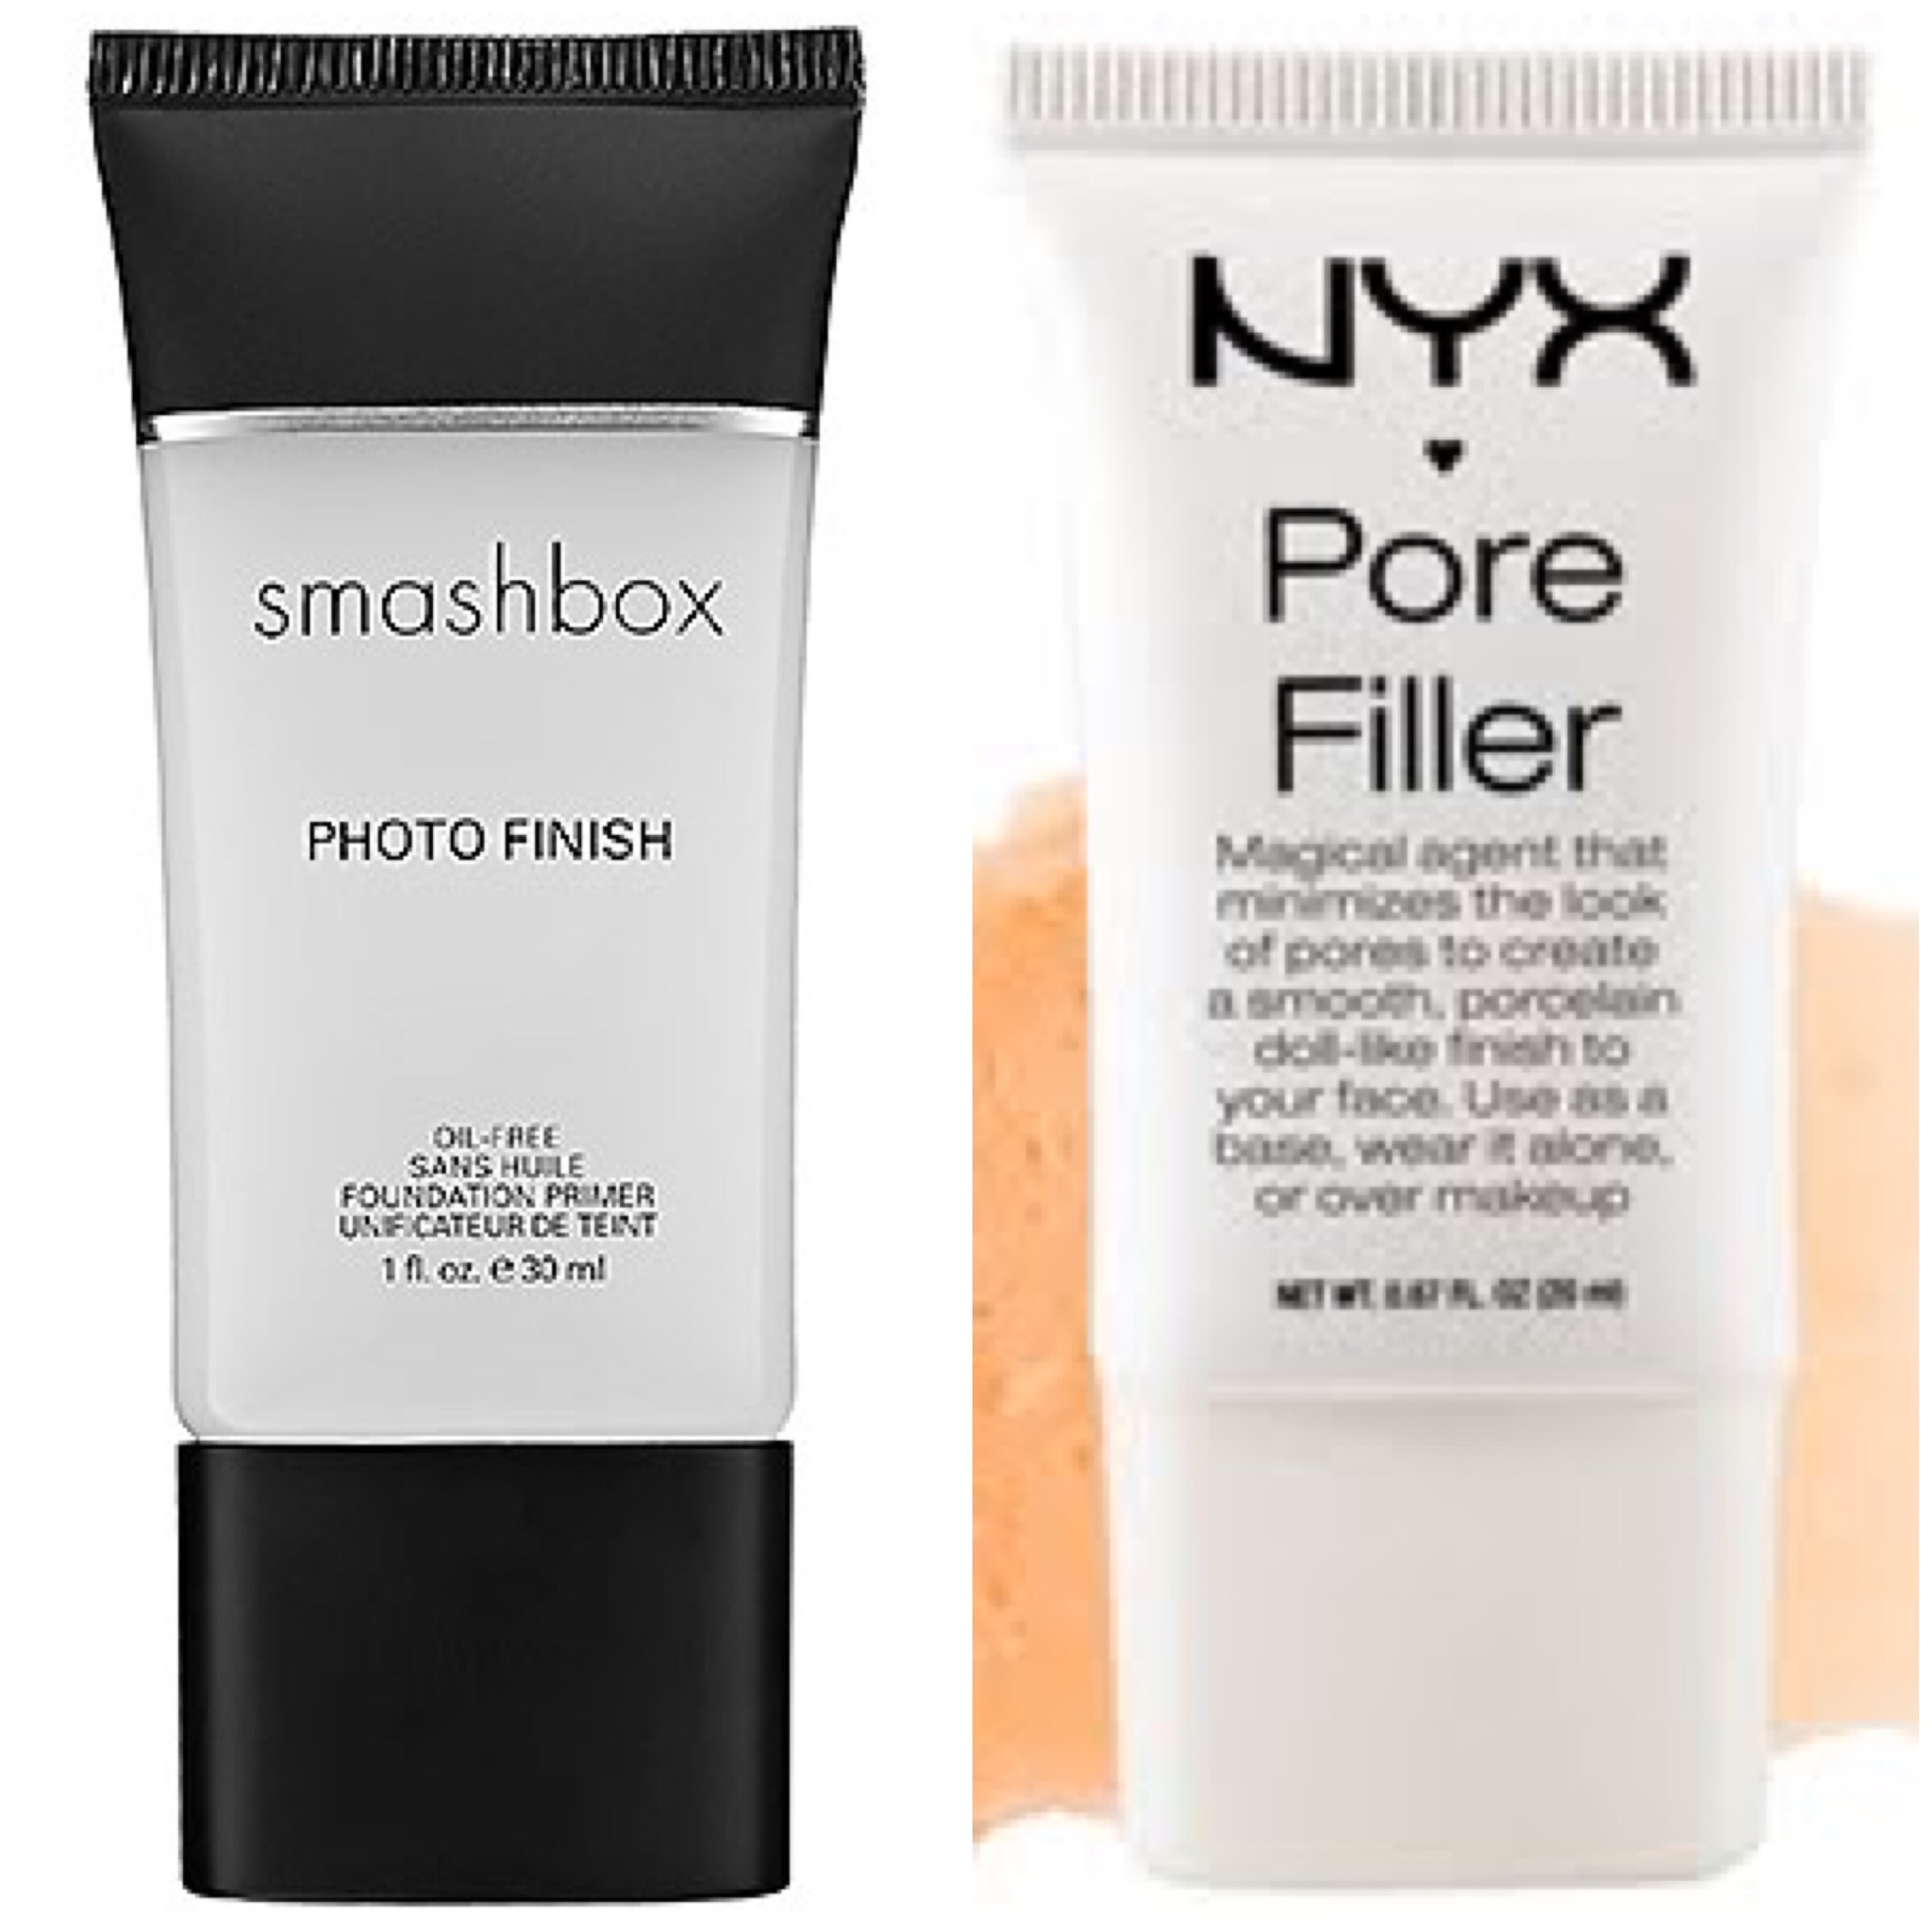
Next, I prep my skin with a primer such as the Smashbox Photo Finish Primer. I don’t like makeup to collect in the pores on my cheeks, so I use a pore minimizer as well. I like Benefit’s Porefessional, but my go-to is the NYX Pore Filler. Put this on wherever you feel like your pores need some “minimizing”.
I am typically a liquid foundation kind of gal, but I have recently transitioned to a foundation powder for the office. This also allows me to save my pricey liquid foundation for the weekends. I use the Sonia Kashuk Powder Brush to apply MAC Studio Fix Powder Foundation. I like this powder because it has good coverage and it’s not chalky or powdery on your skin.

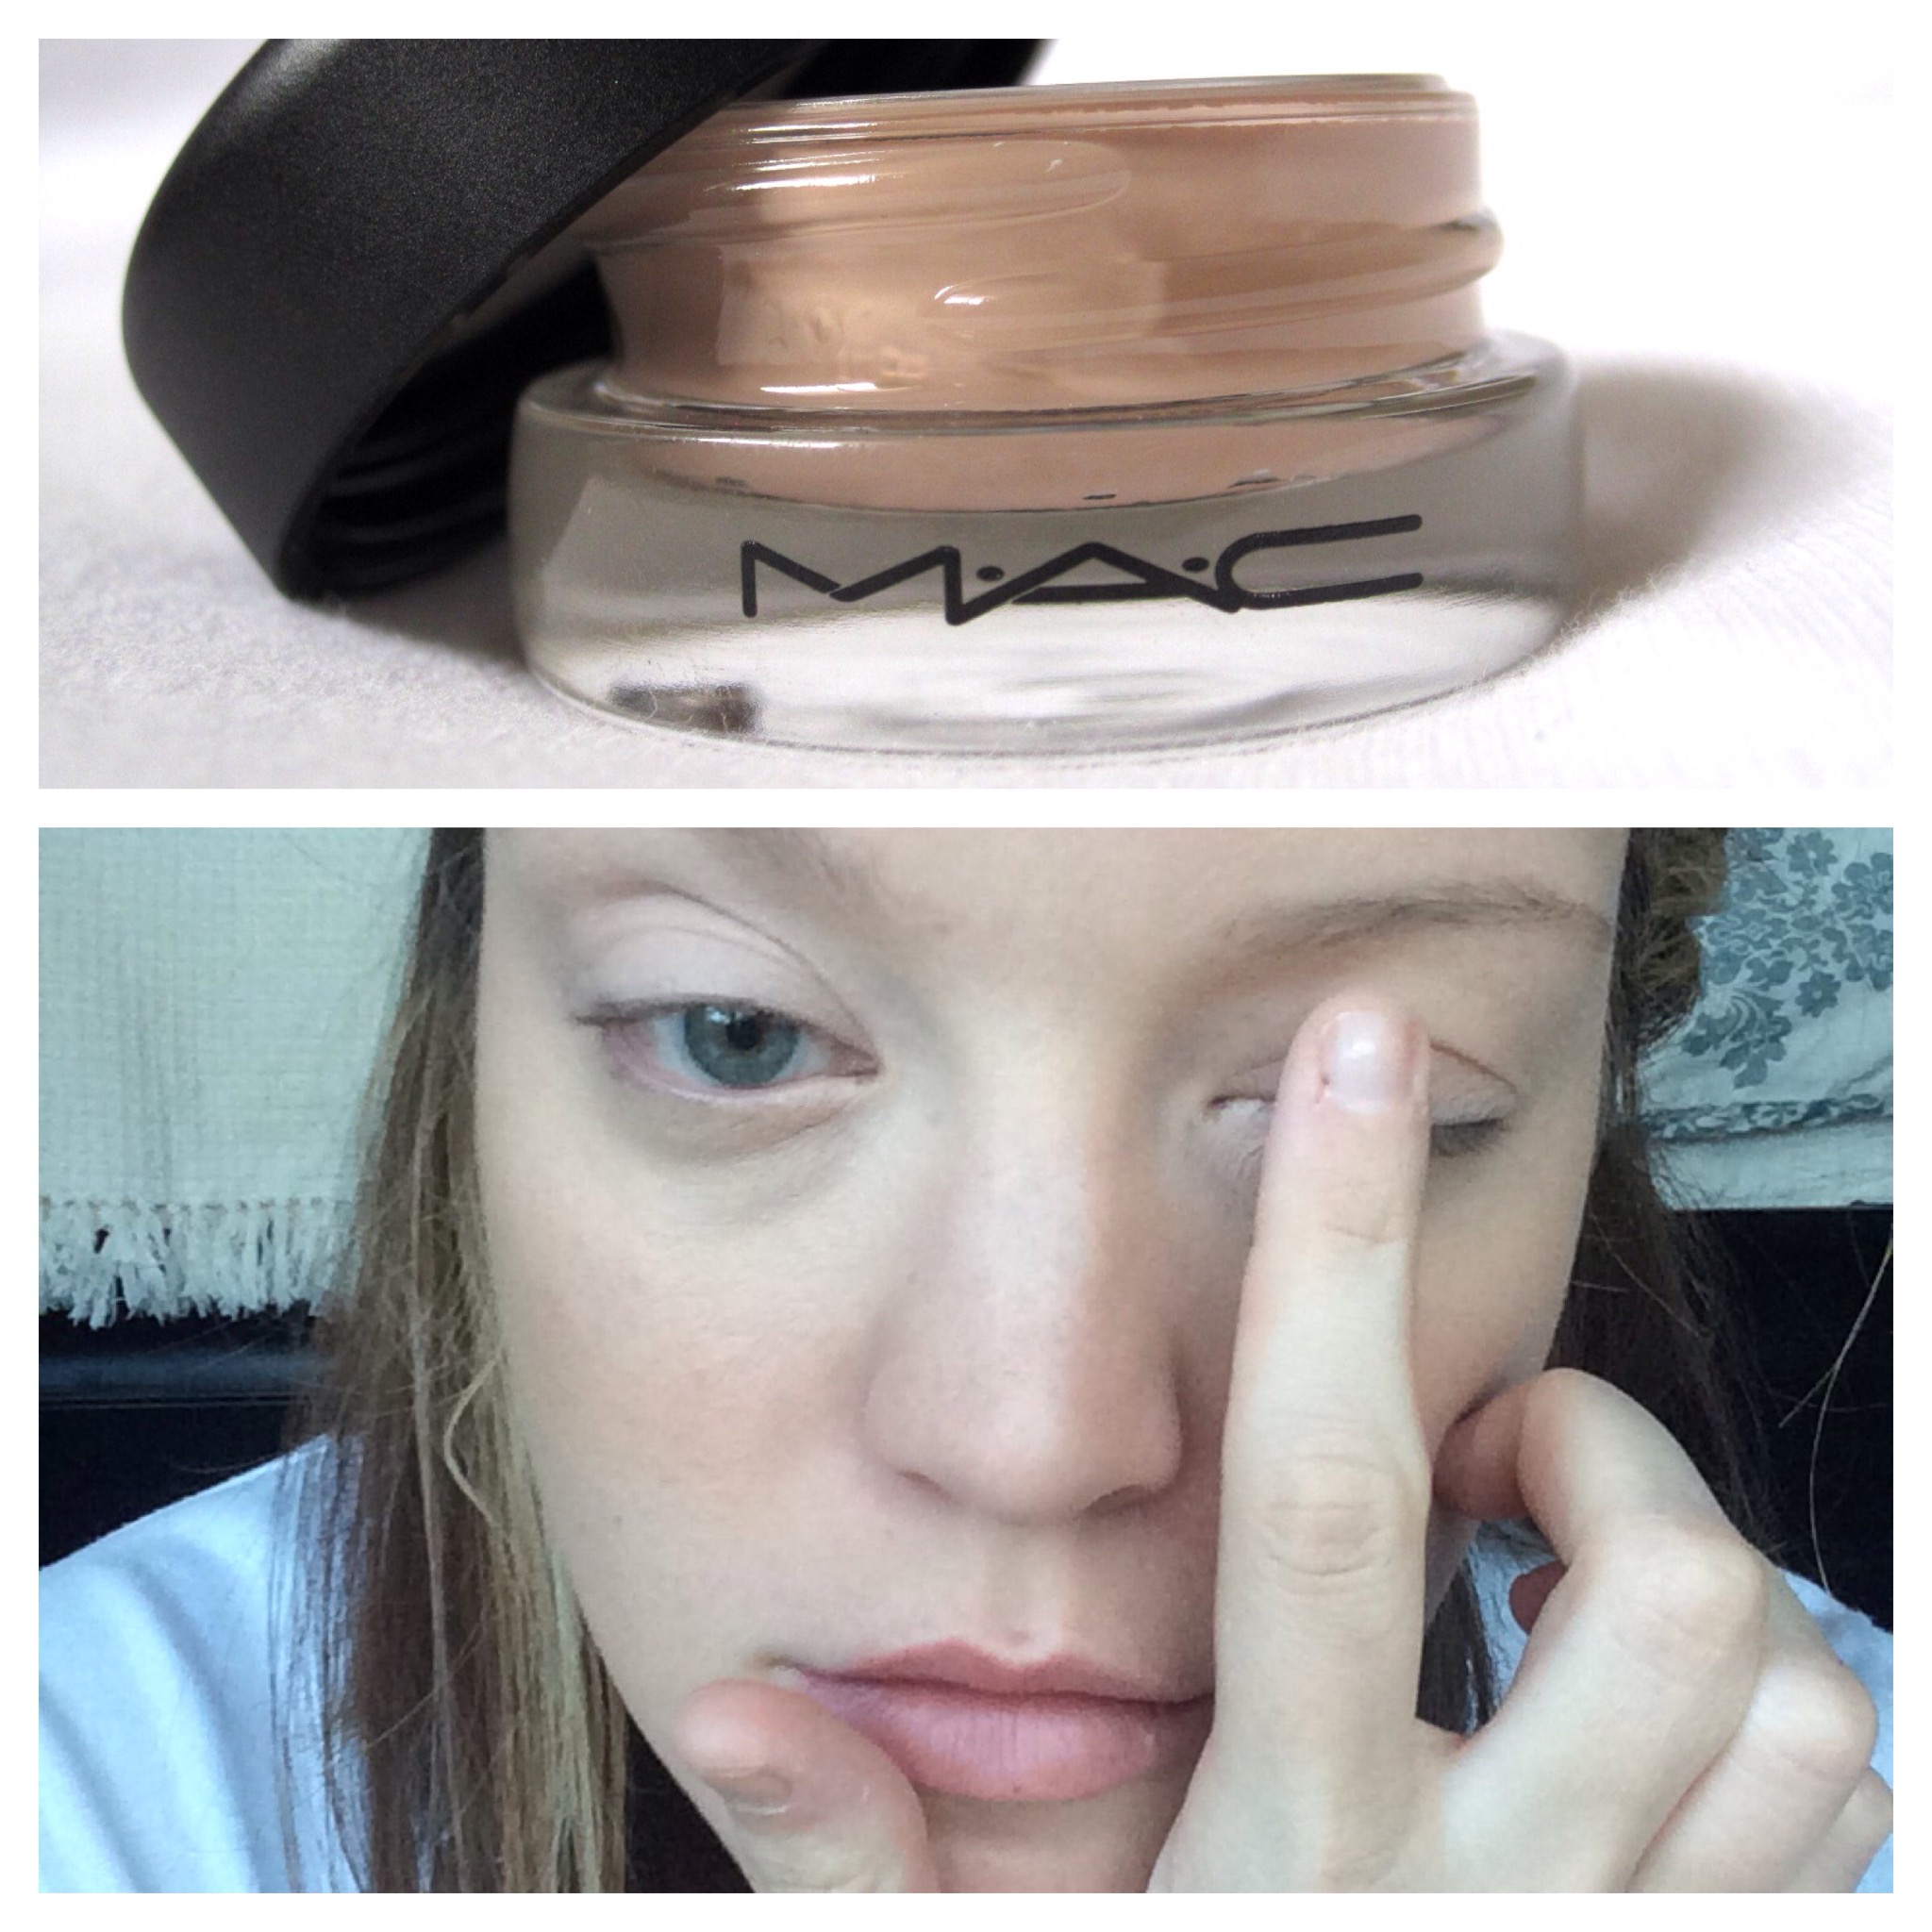
Next, I apply some MAC Pro Longwear Concealer on my bags under eye area. I like this concealer, but a lot of product comes out even with the tiniest of pushes. I use this to put two layers on (after the first one dries) and sometimes a stripe down the bridge of my nose if I have any extra. P.S. Please excuse the GIANT mosquito bite on my forehead… Story of my life here in the heart of Texas.

Now it’s time for some eyeshadow primer/base. I LOVE the MAC Painterly Paint Pot. It can double as both a primer (and an awesome one at that) and a lid color if you’re looking to go quick and neutral. I apply it with my finger.
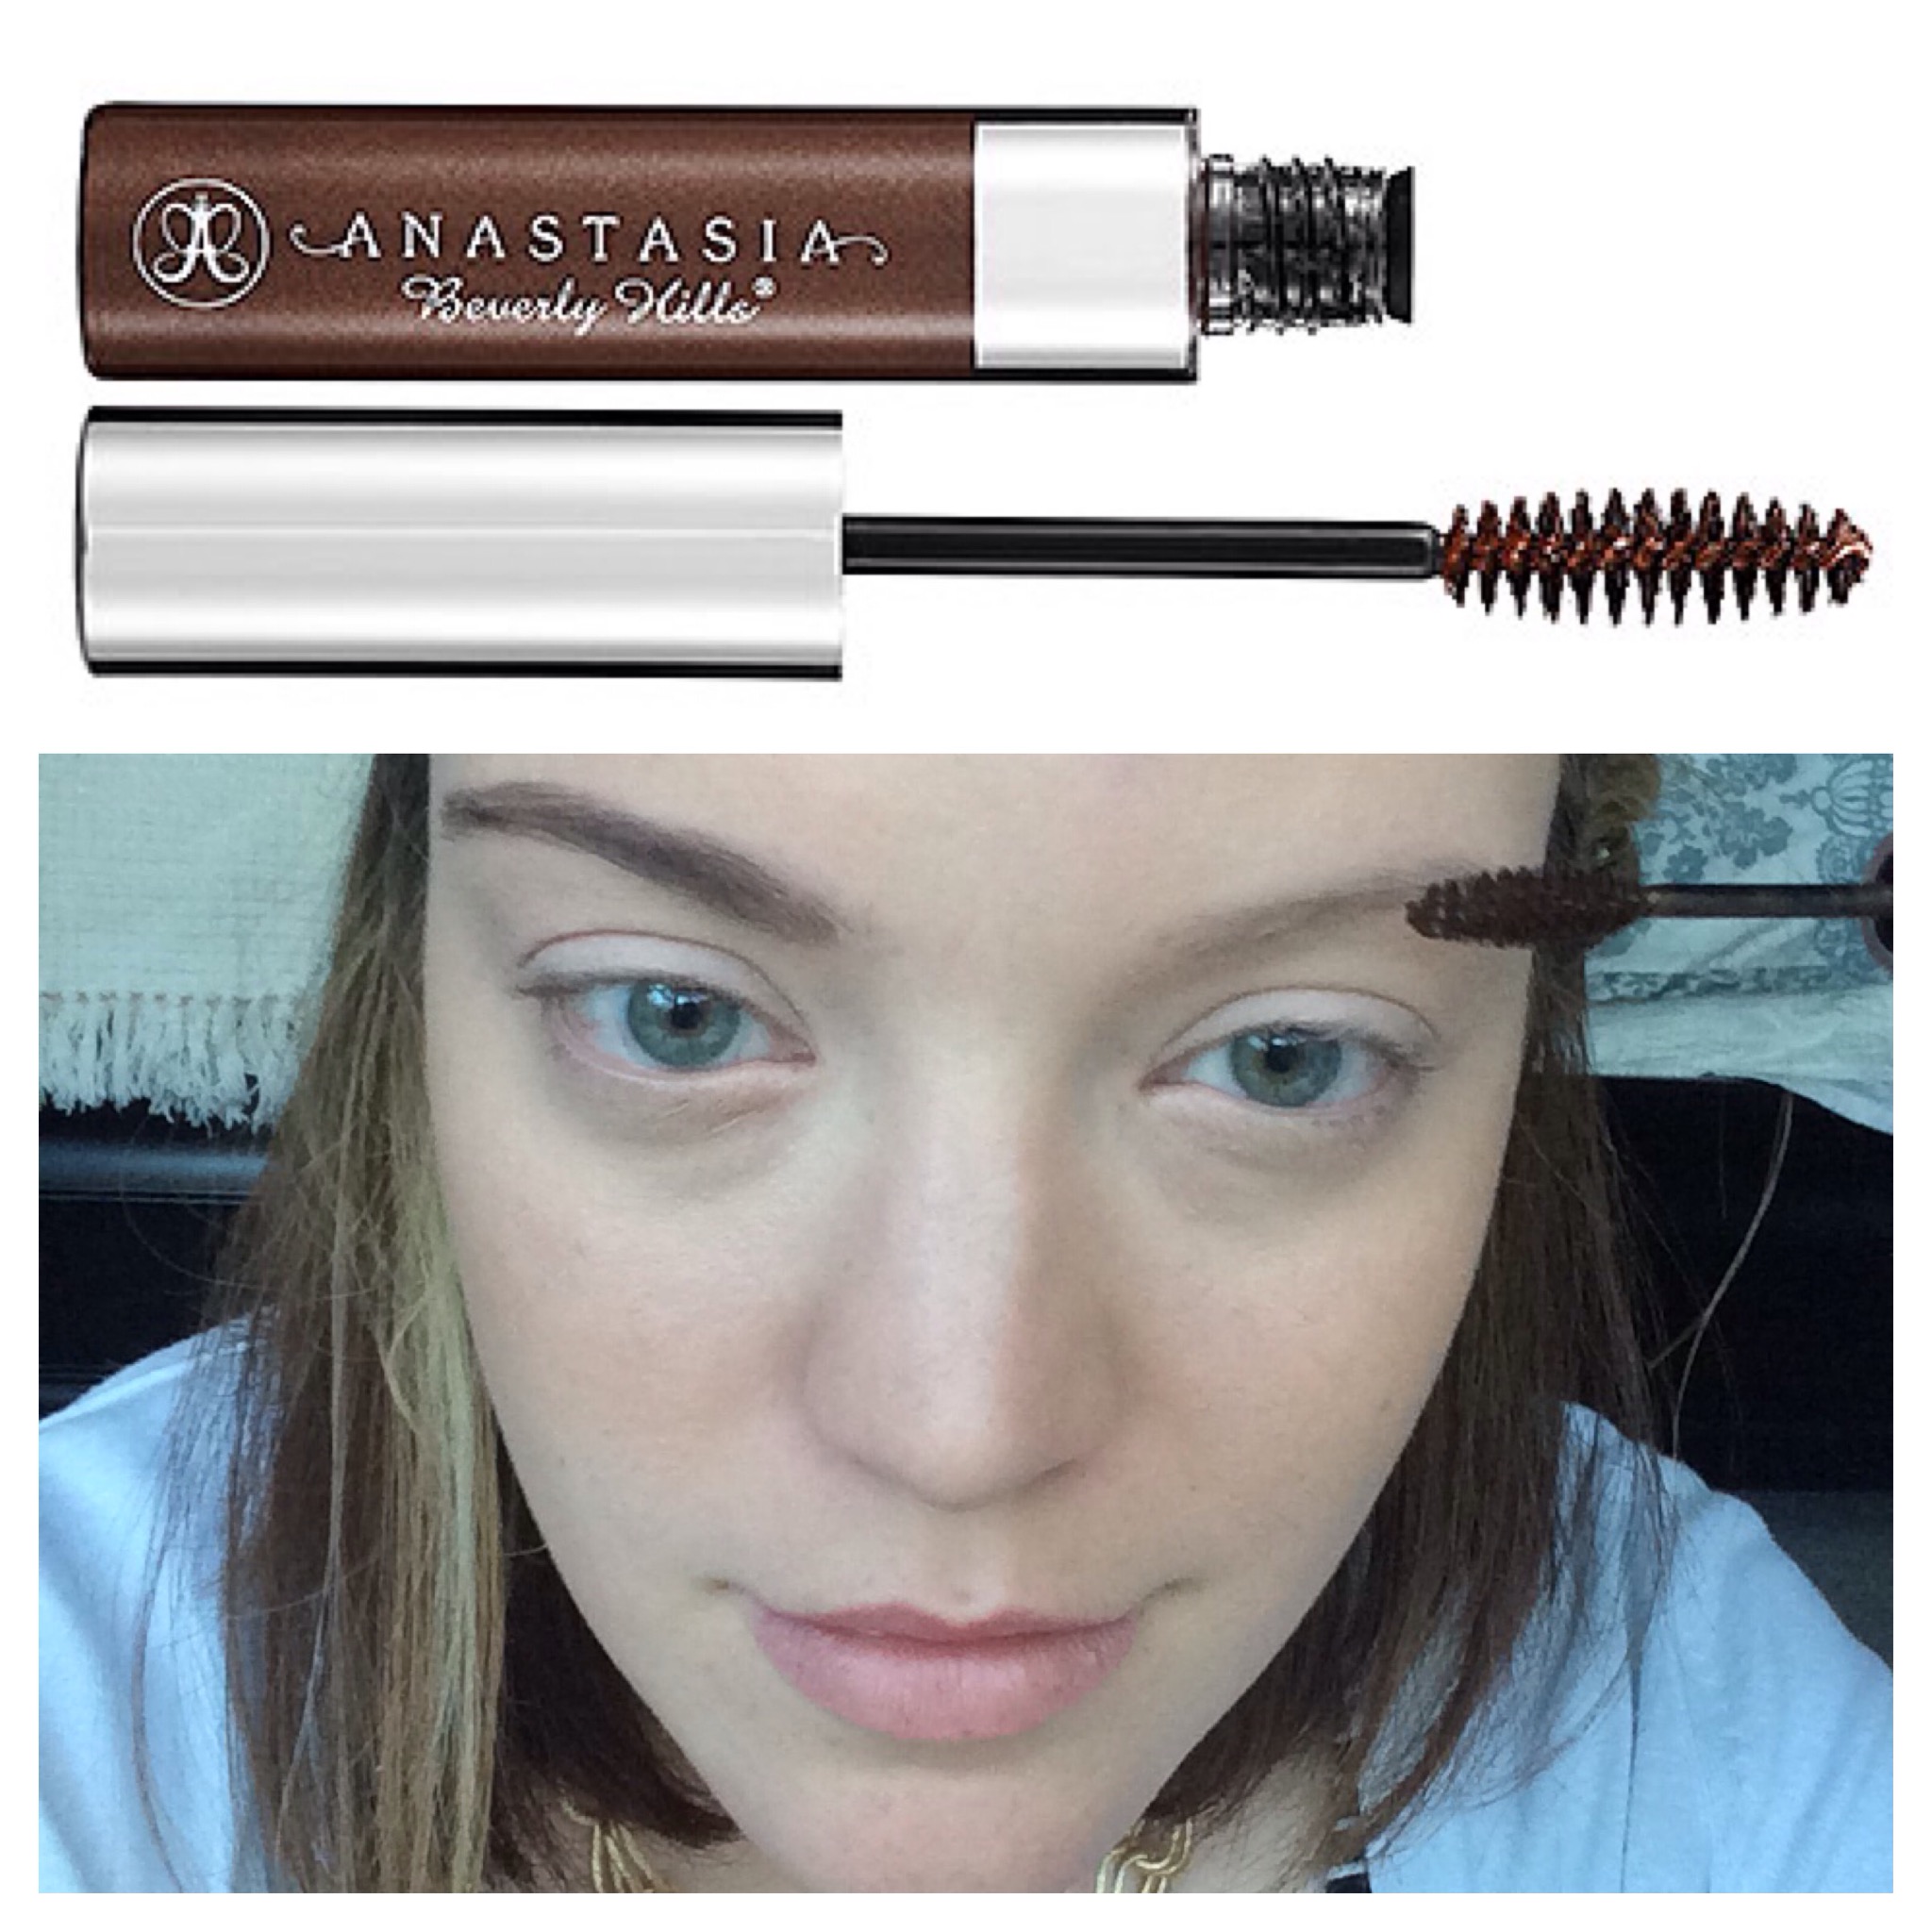
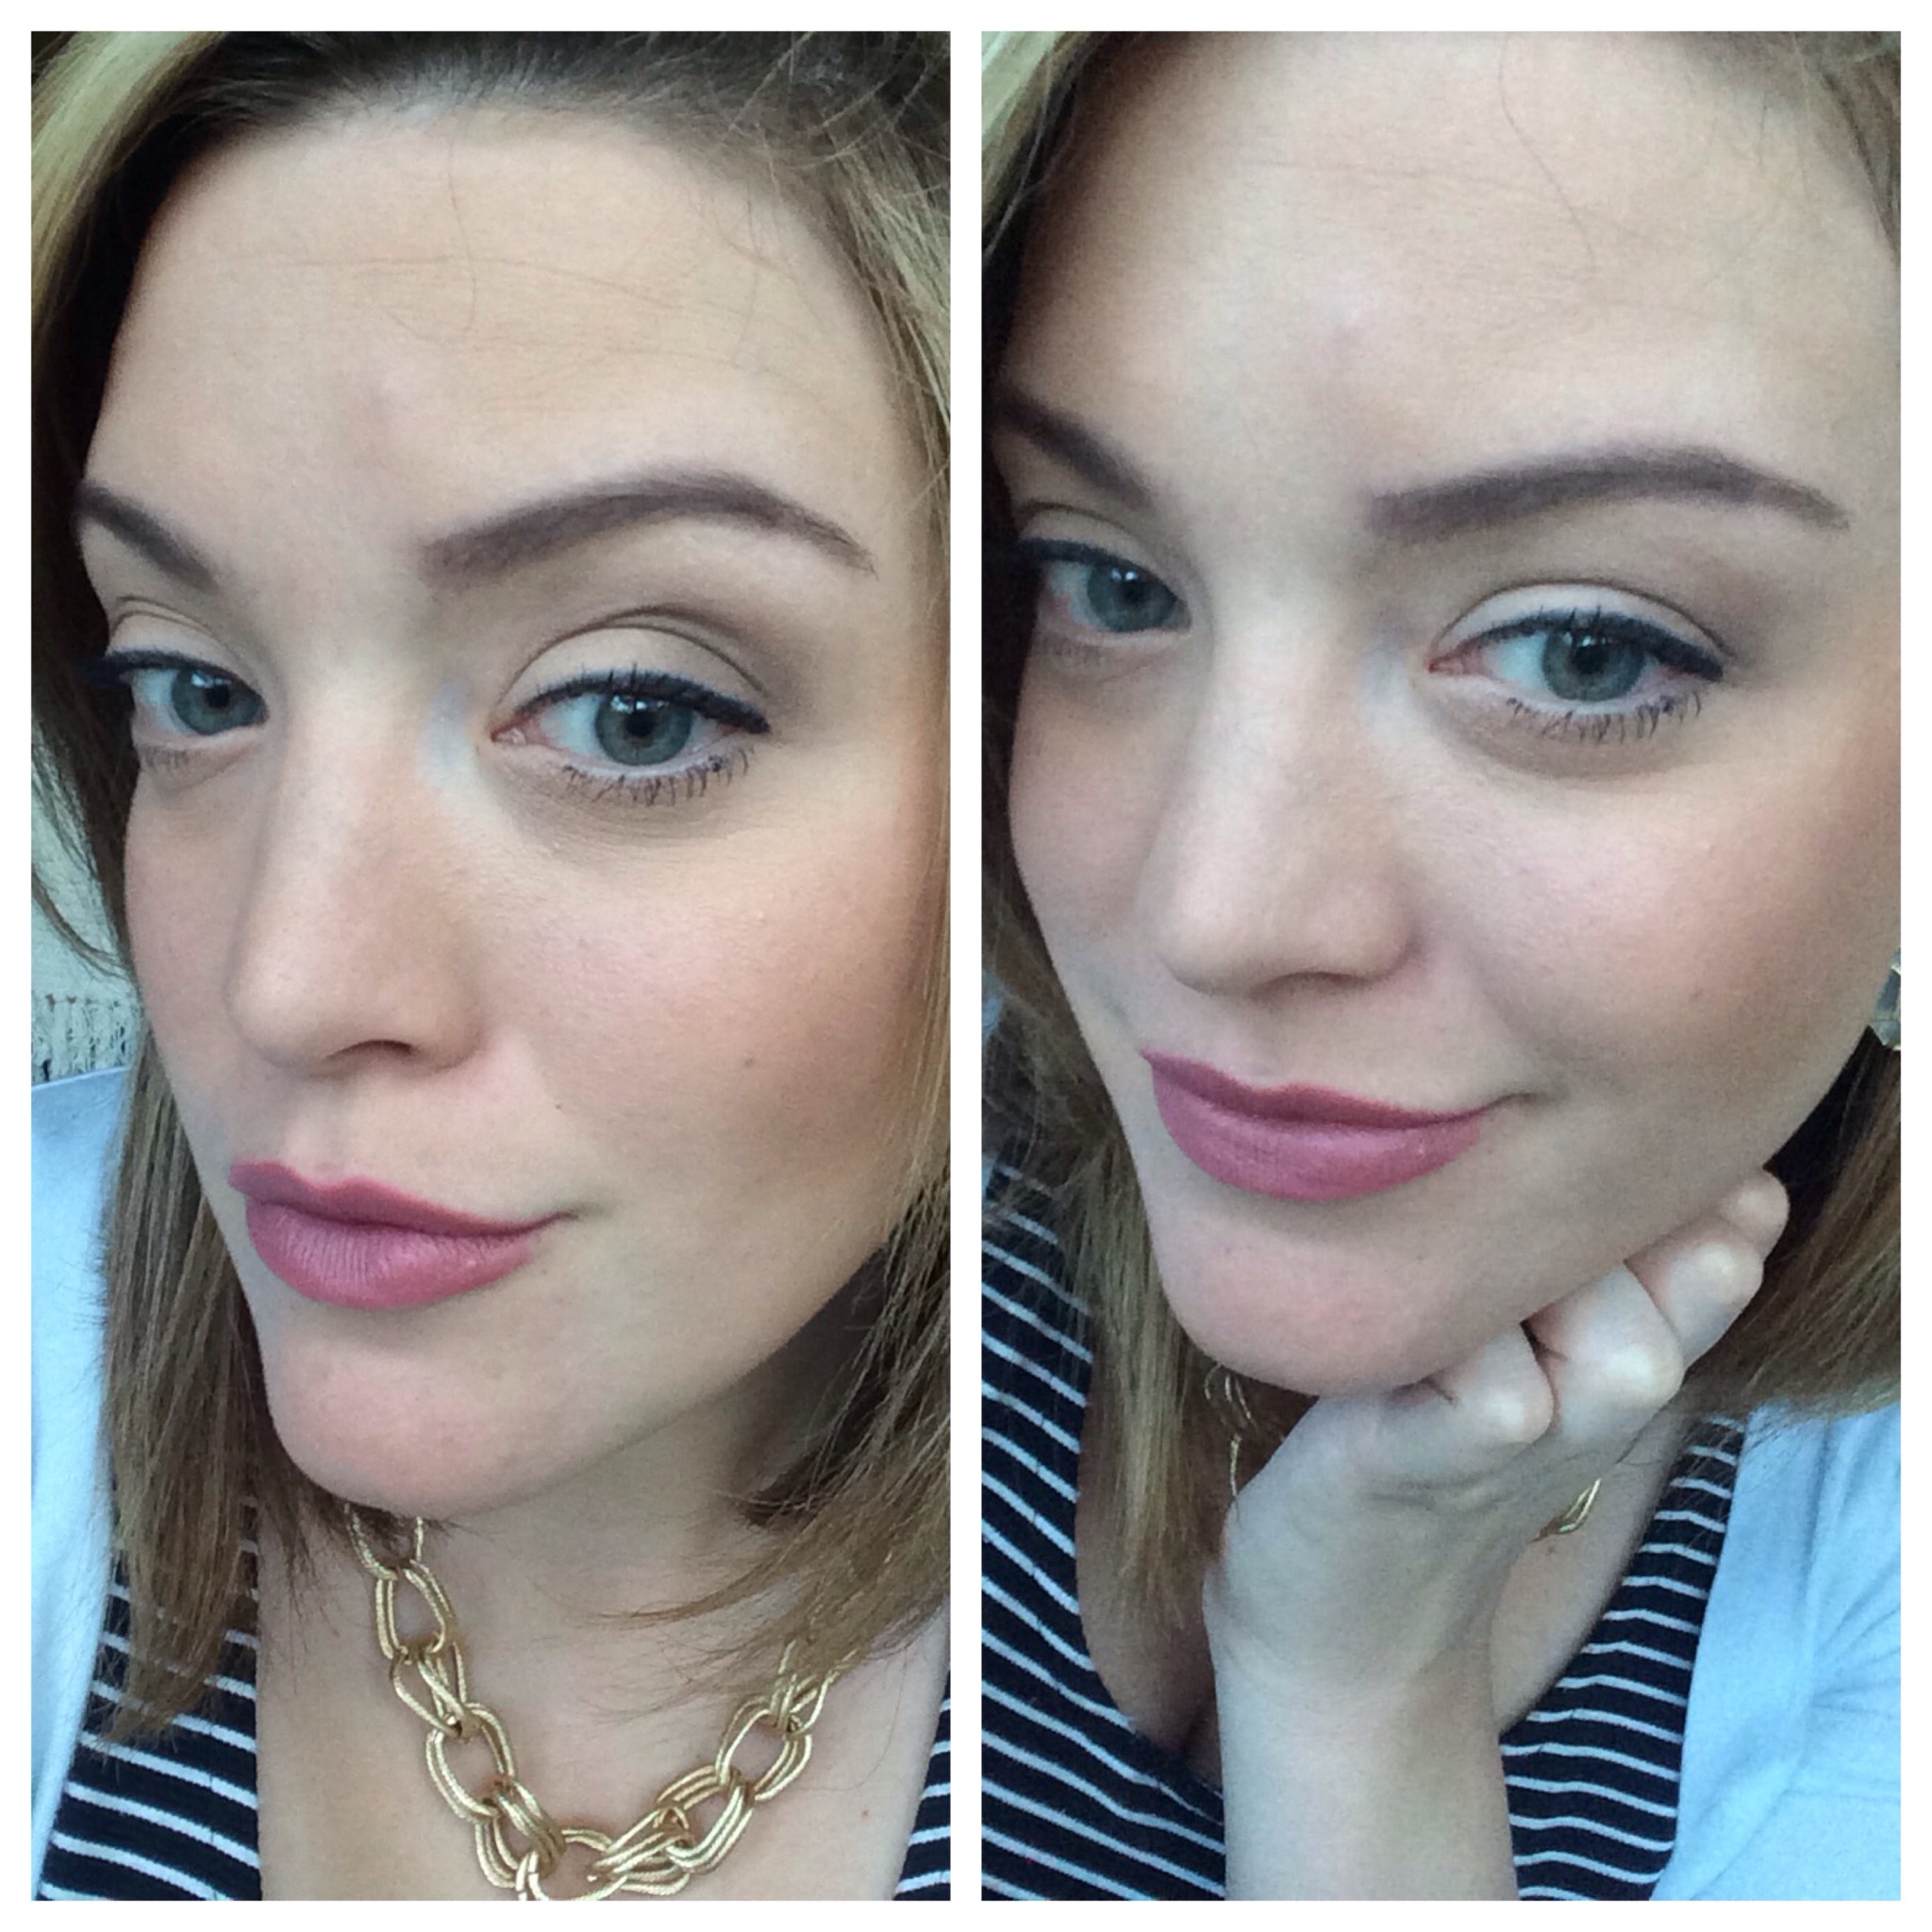
Next is the most important part of the face, brows! I like to keep my brow routine quick and simple. My go-to is the Anastasia Tinted Brow Gel in Chocolate. I just swipe it on my brows in an upward motion like I would a mascara. Not that I put mascara on my brows… but you get what I’m sayin’.
I would just like to take a minute to do an Eyebrow PSA. I have really blonde eyebrows. Note what a huge difference adding some tint to them makes to my face. *steps off soapbox*
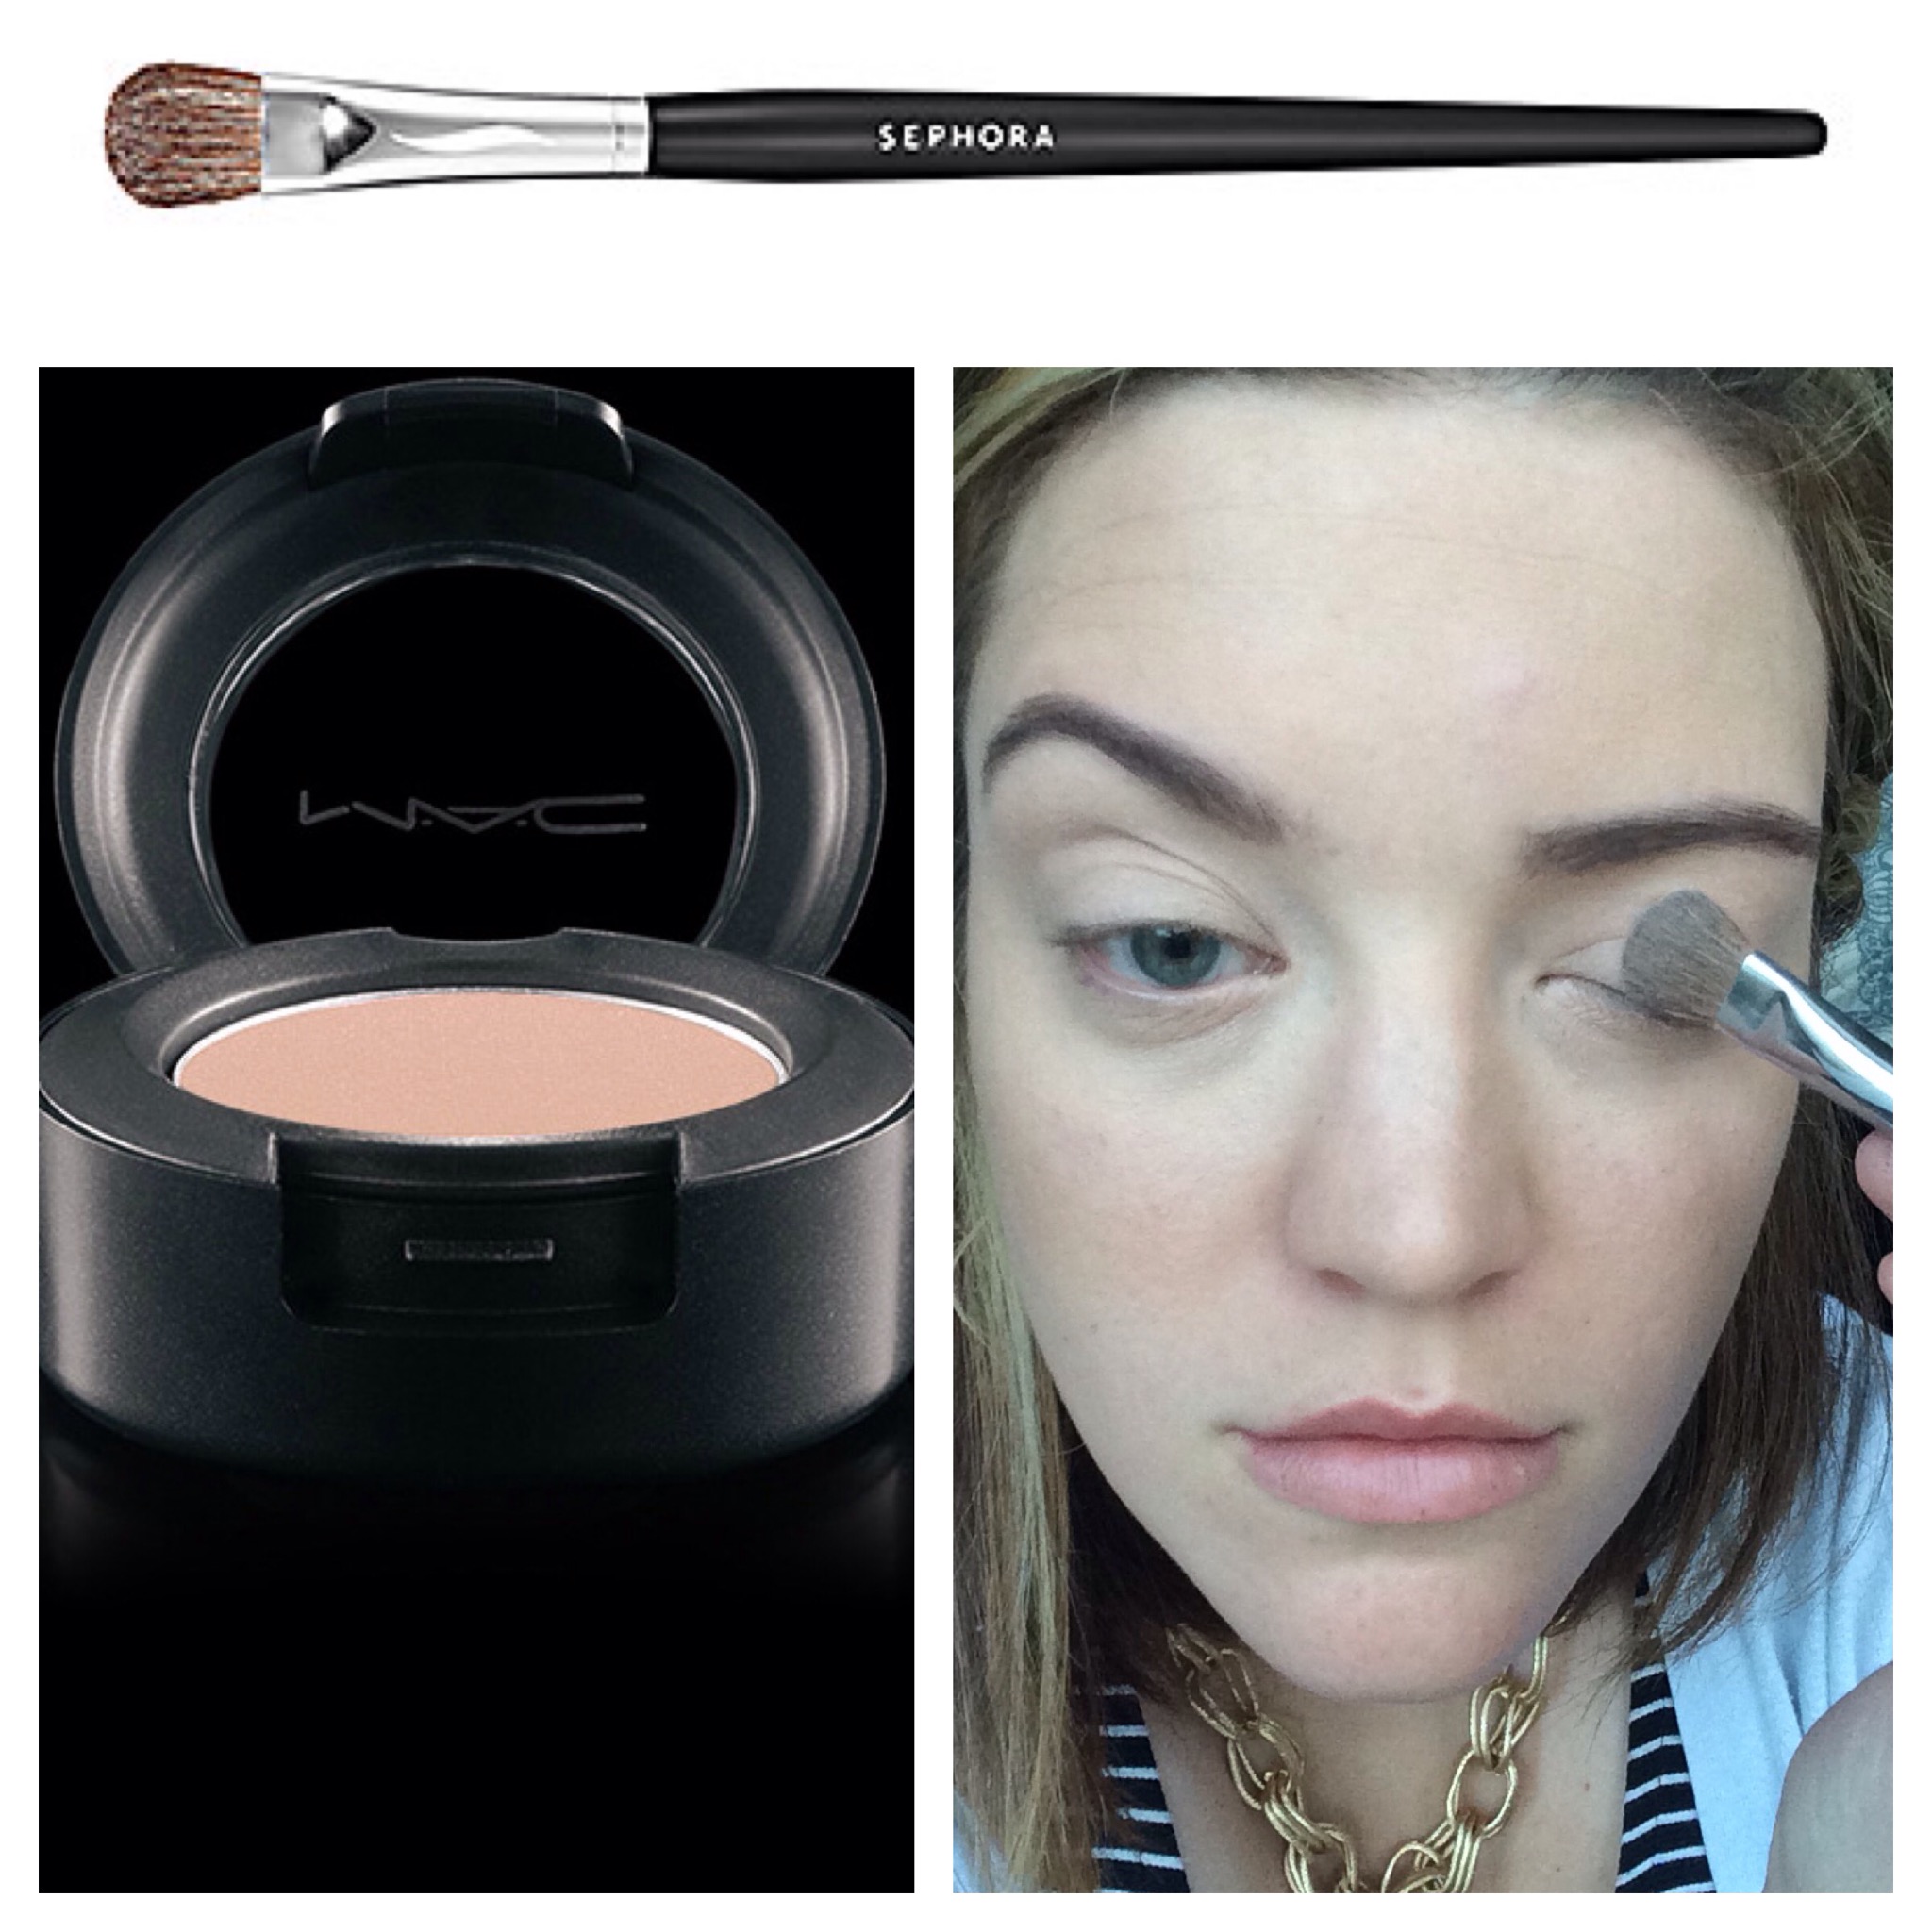
Moving onto eye shadows… I take my Sephora Pro Allover Shadow Brush to apply MAC Brule all over my eyelid and up to my brow.
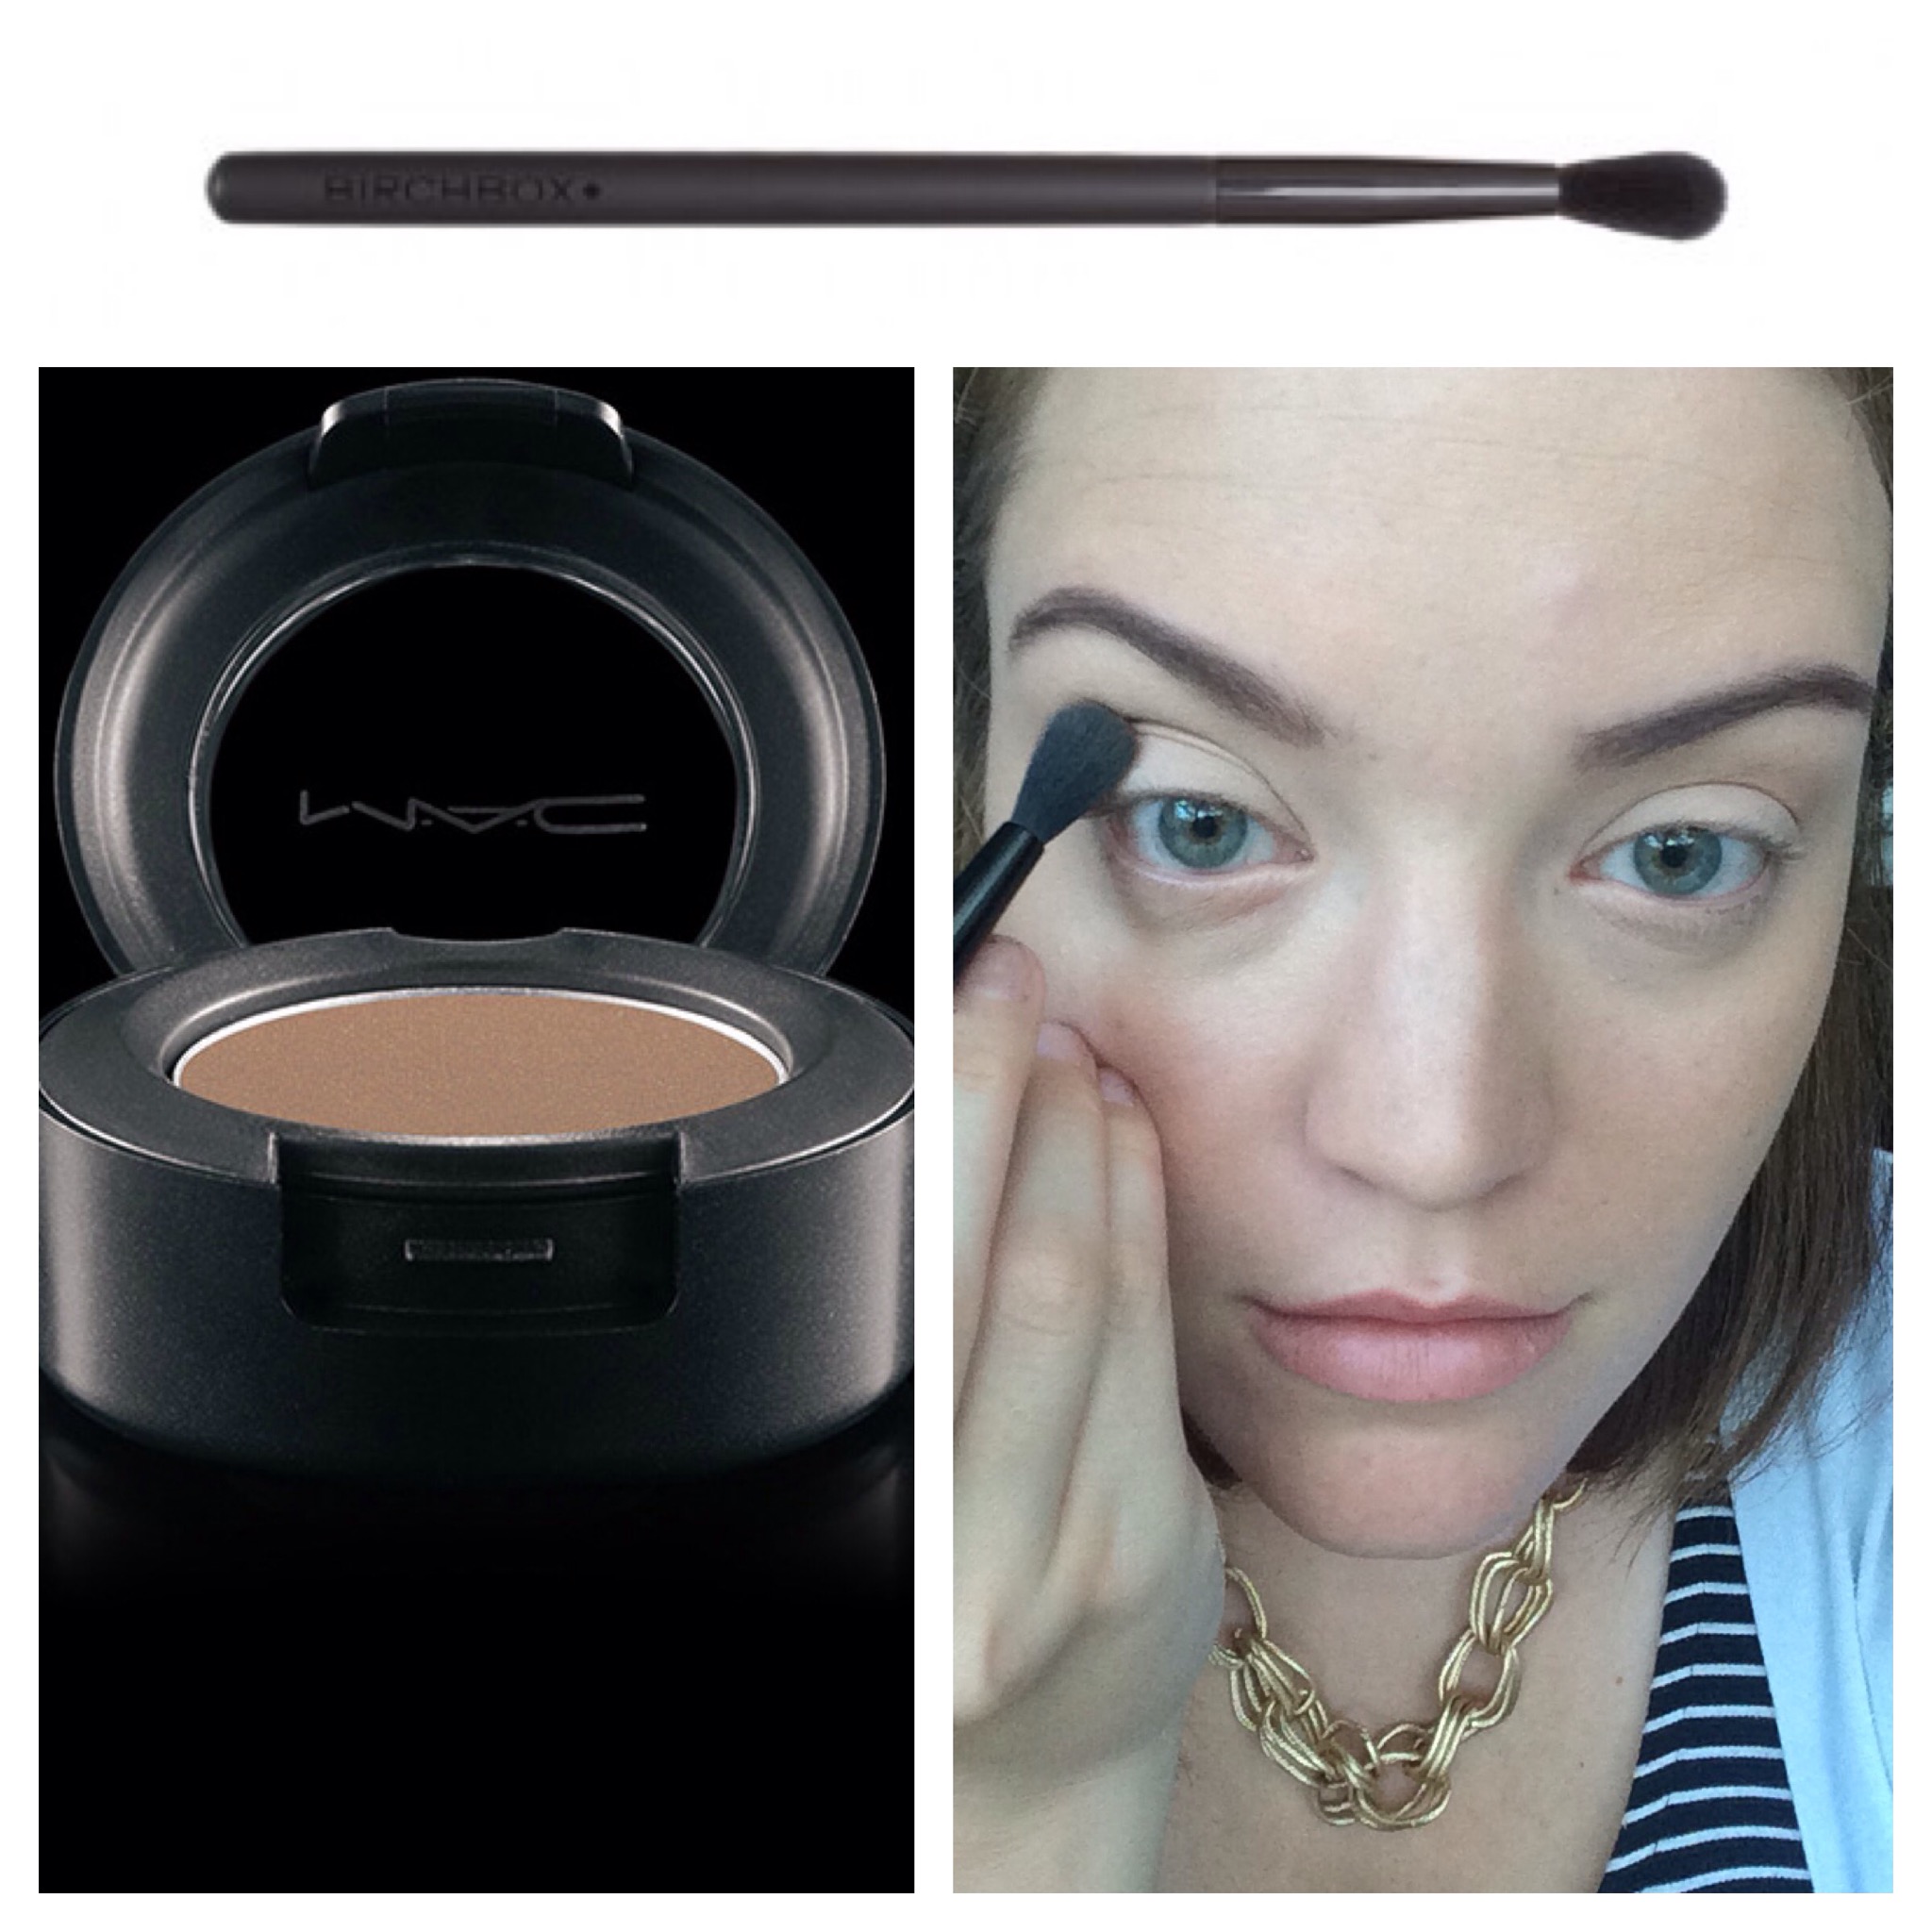
Then I take my Birchbox Eye Blender Brush to apply MAC Wedge to my crease and let it go slightly up to my brow bone.
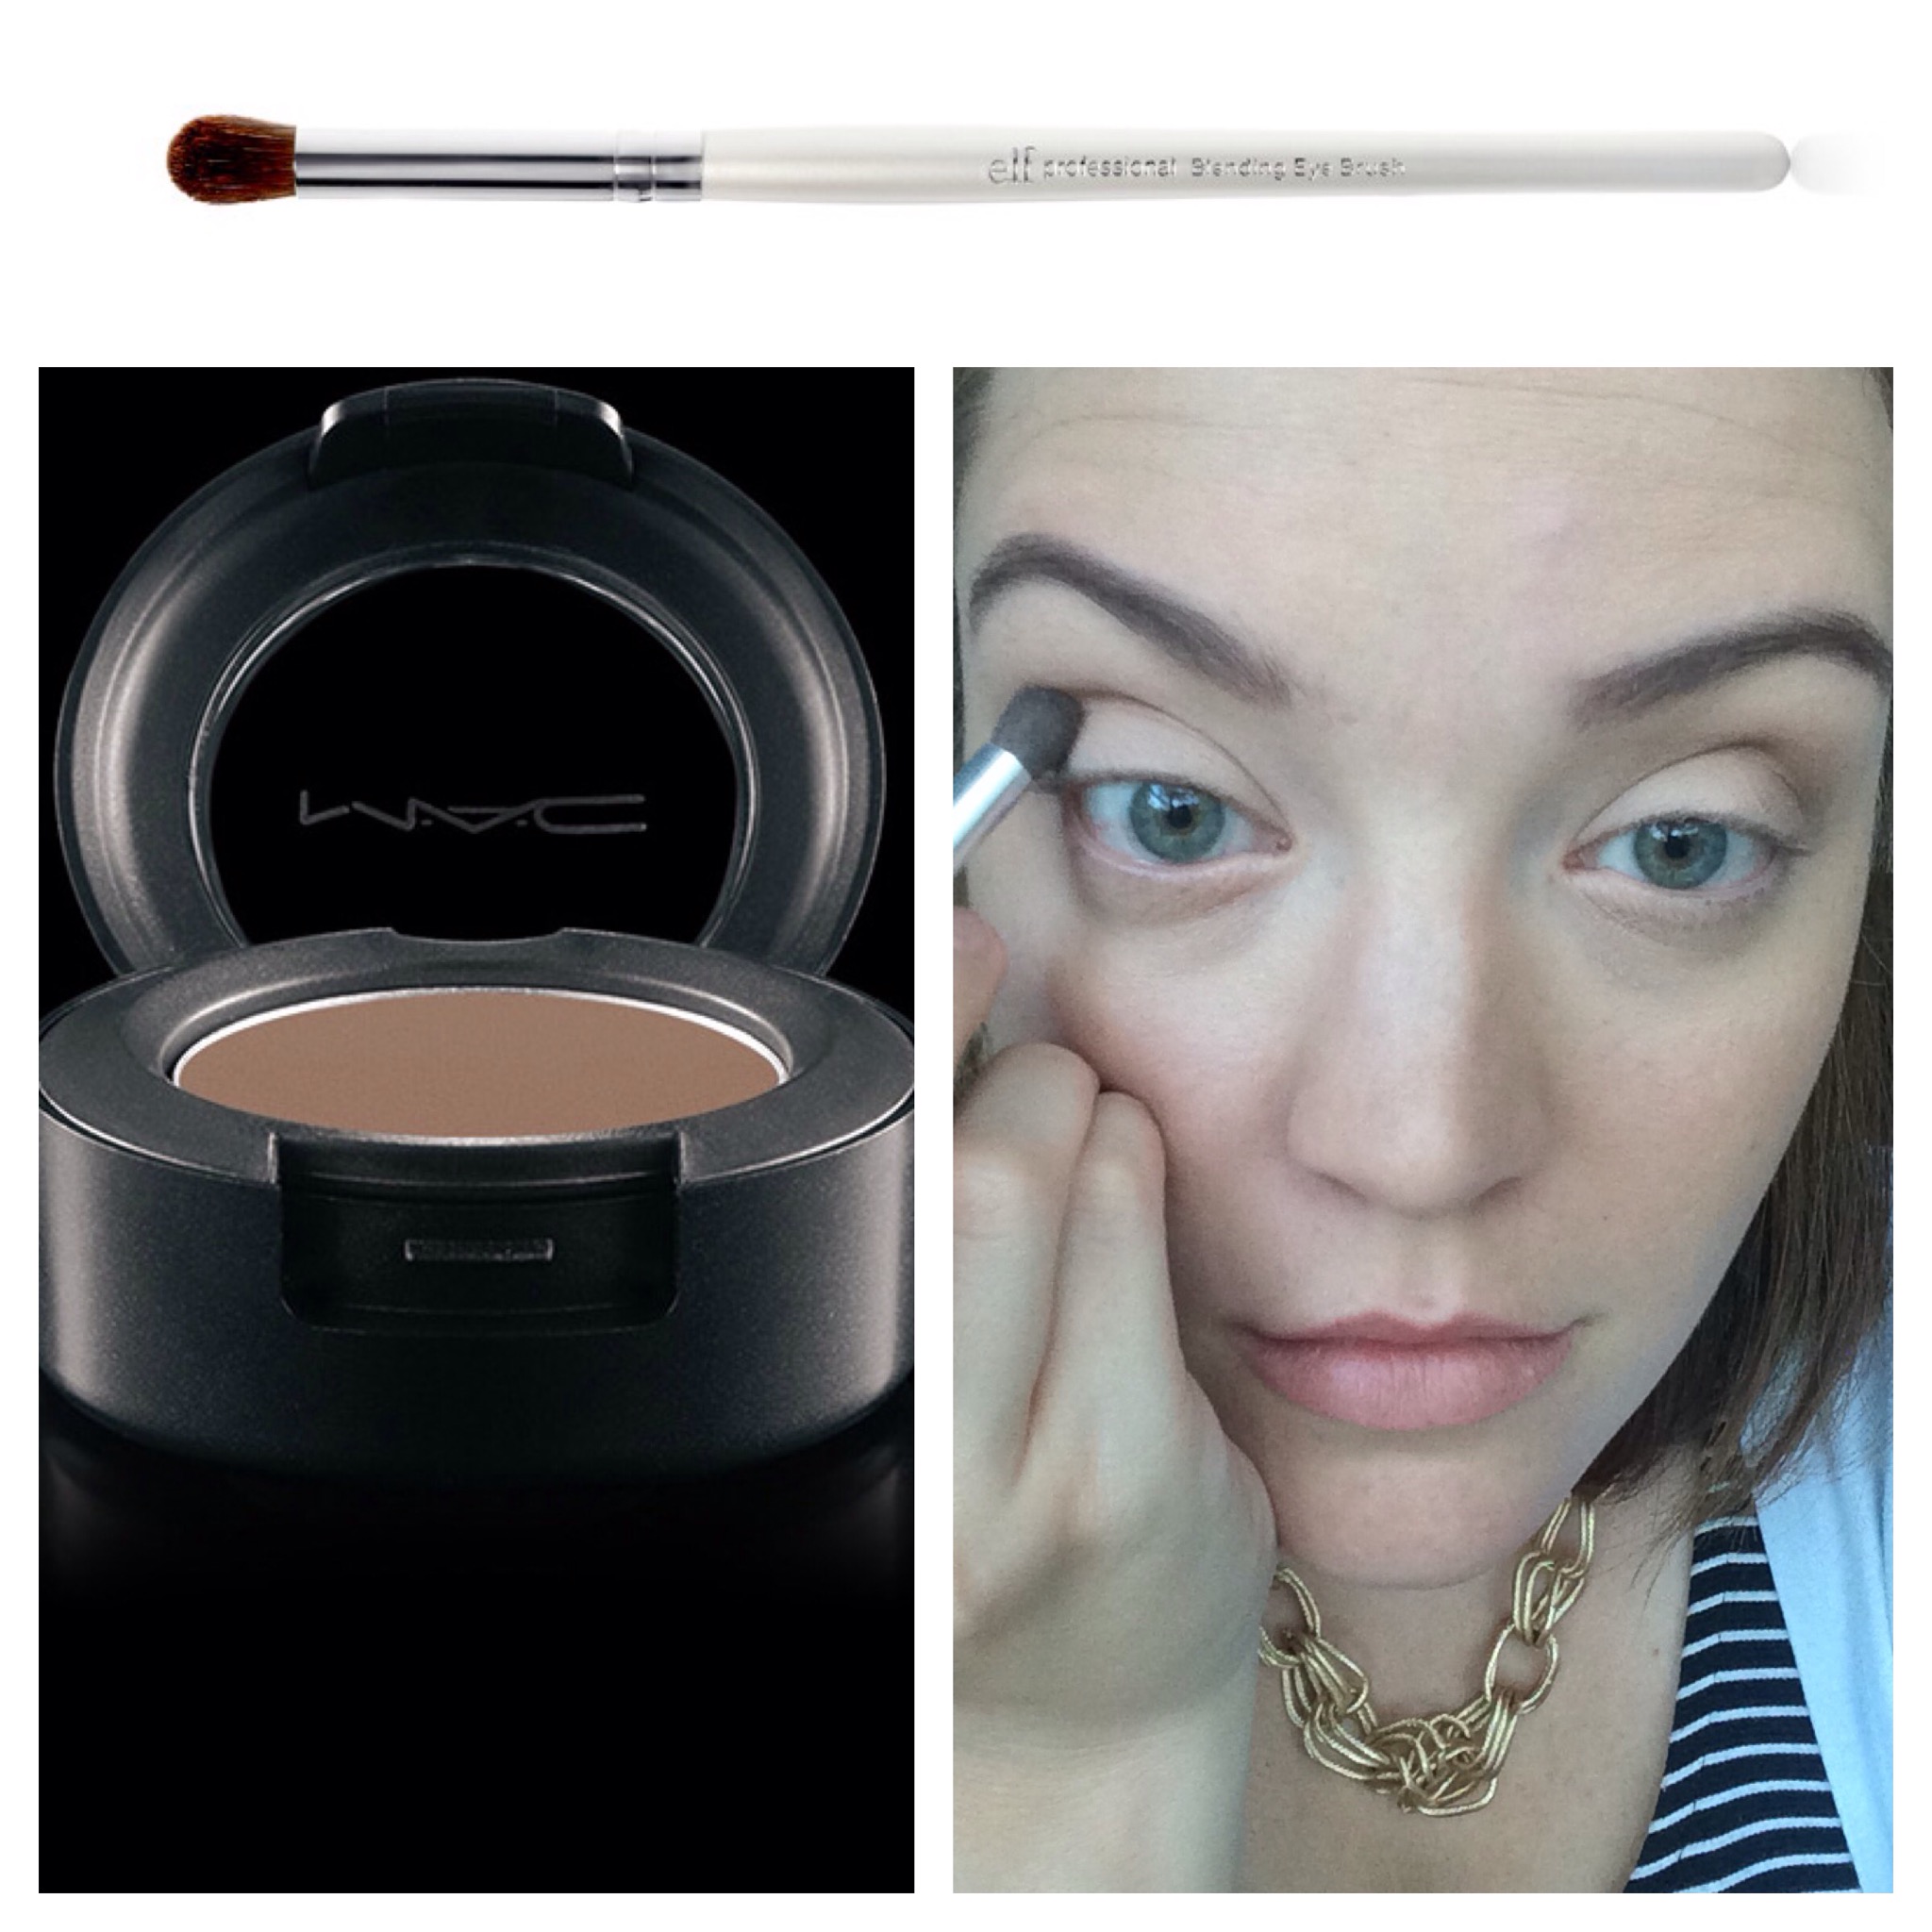
My most favorite eye shadow brush in the entire world is my ELF Blending Eye Brush. Y’all, I cannot say enough good things about this brush. It is the best dollar I have ever spent. You heard me right… ONE DOLLAR. Go get one. Pronto. I take it to apply MAC Charcoal Brown to my crease, outer-v, and angle it down onto the outer third of my eyelid.
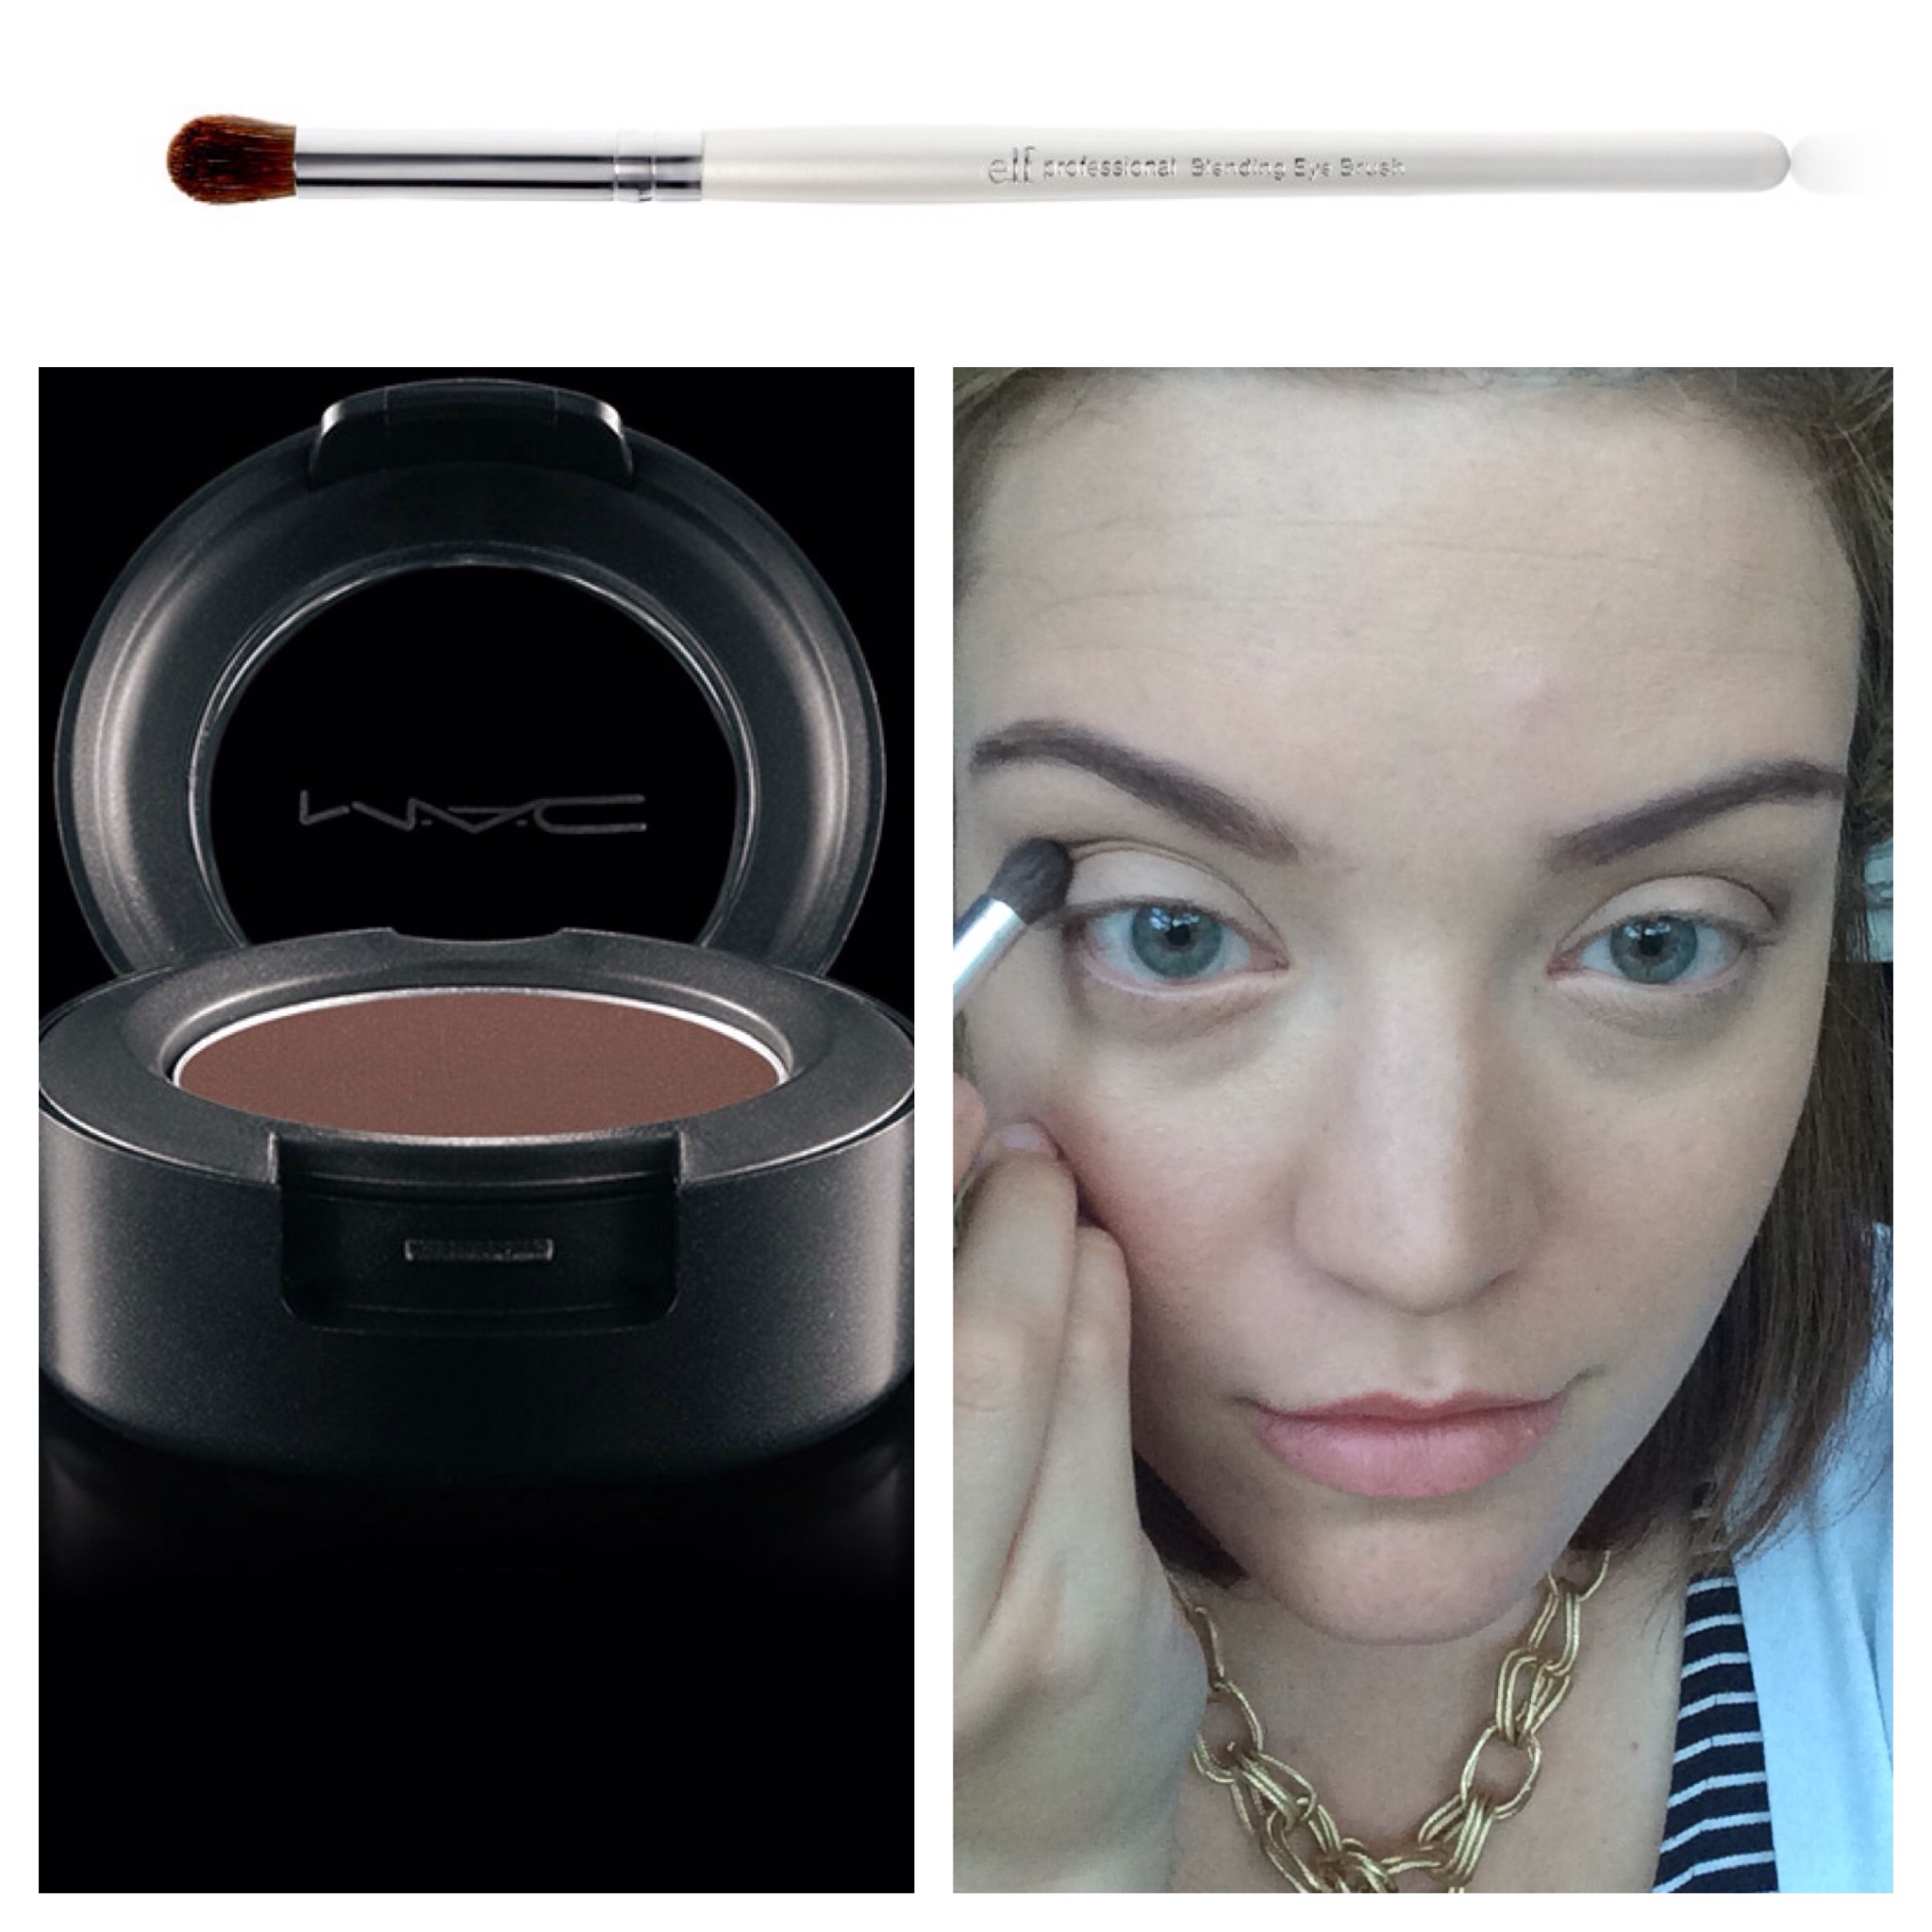
As if you think I haven’t piled on enough eye shadow, I use the same ELF brush and apply MAC Embark to deepen the outer-v.
I go back in with Brule to blend in my browbone. Then I take any light, shimmery highlight color (like Urban Decay’s Virgin) to highlight right under my brows and around my tear ducts.
I try to leave liquid liner for special occasions, so I use the Cynthia Rowley Black Beauty Eyeliner right along my lashline. It’s ok if it doesn’t go on perfectly and smoothly because…
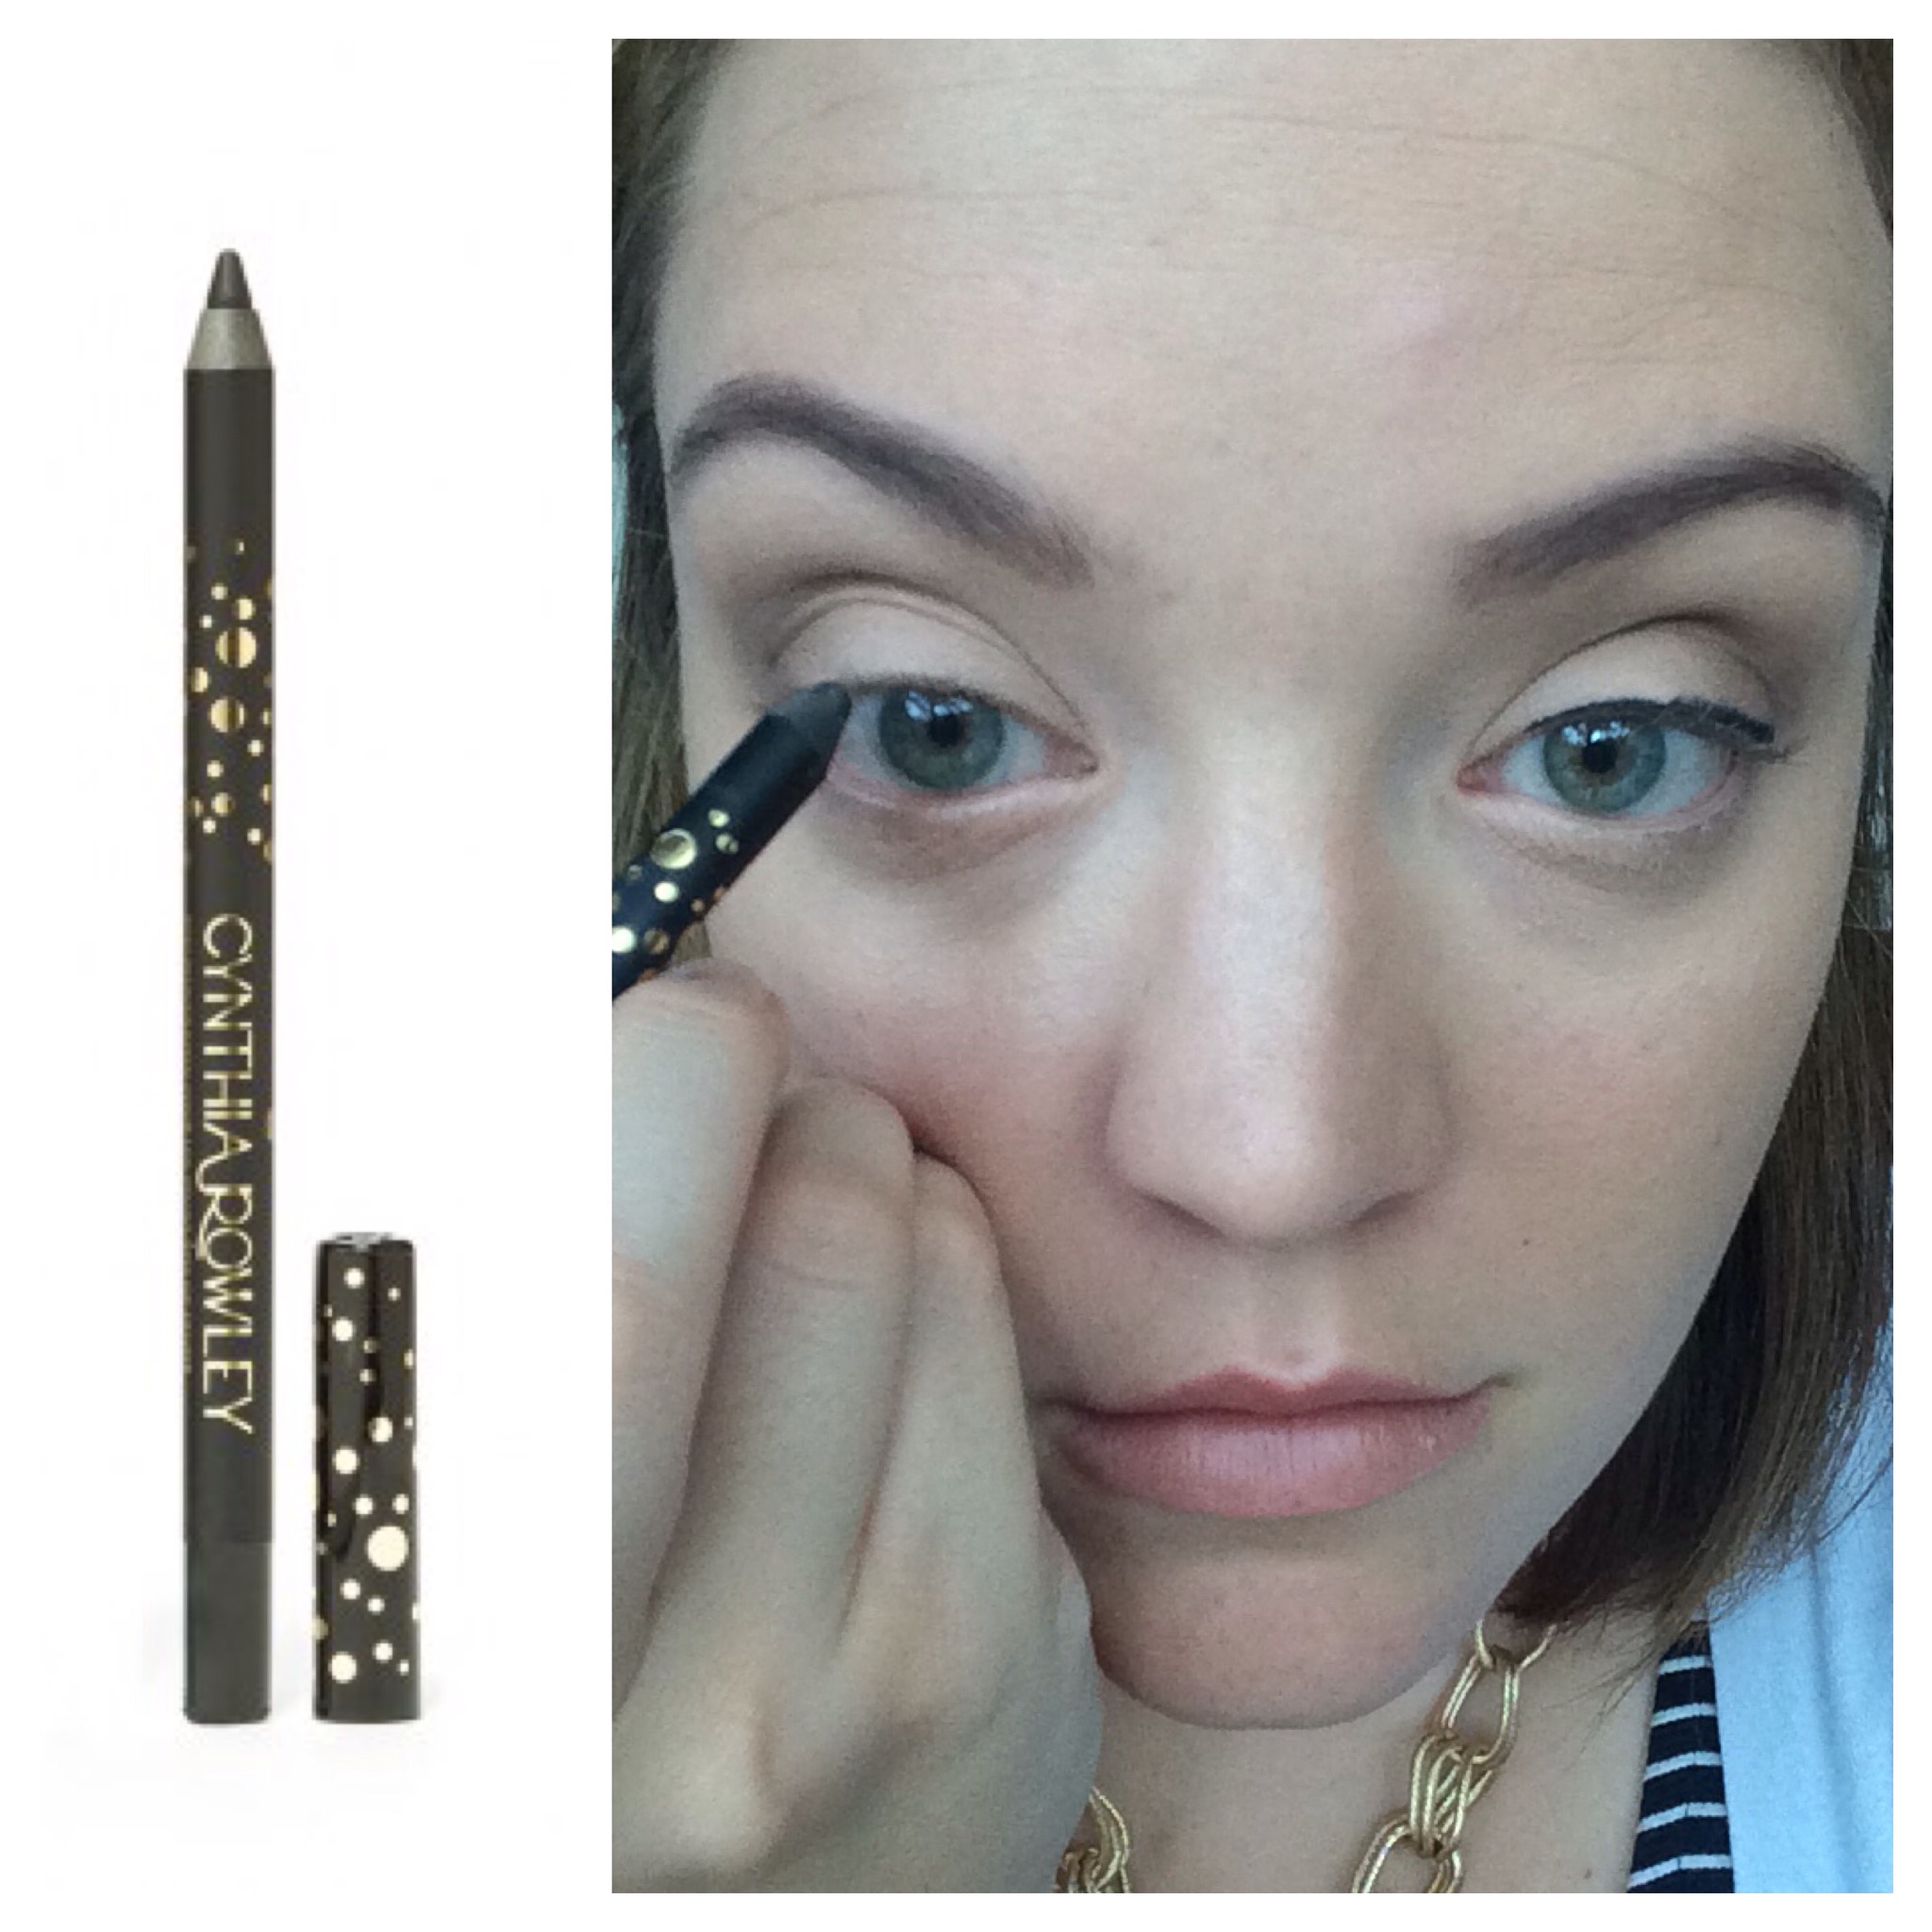
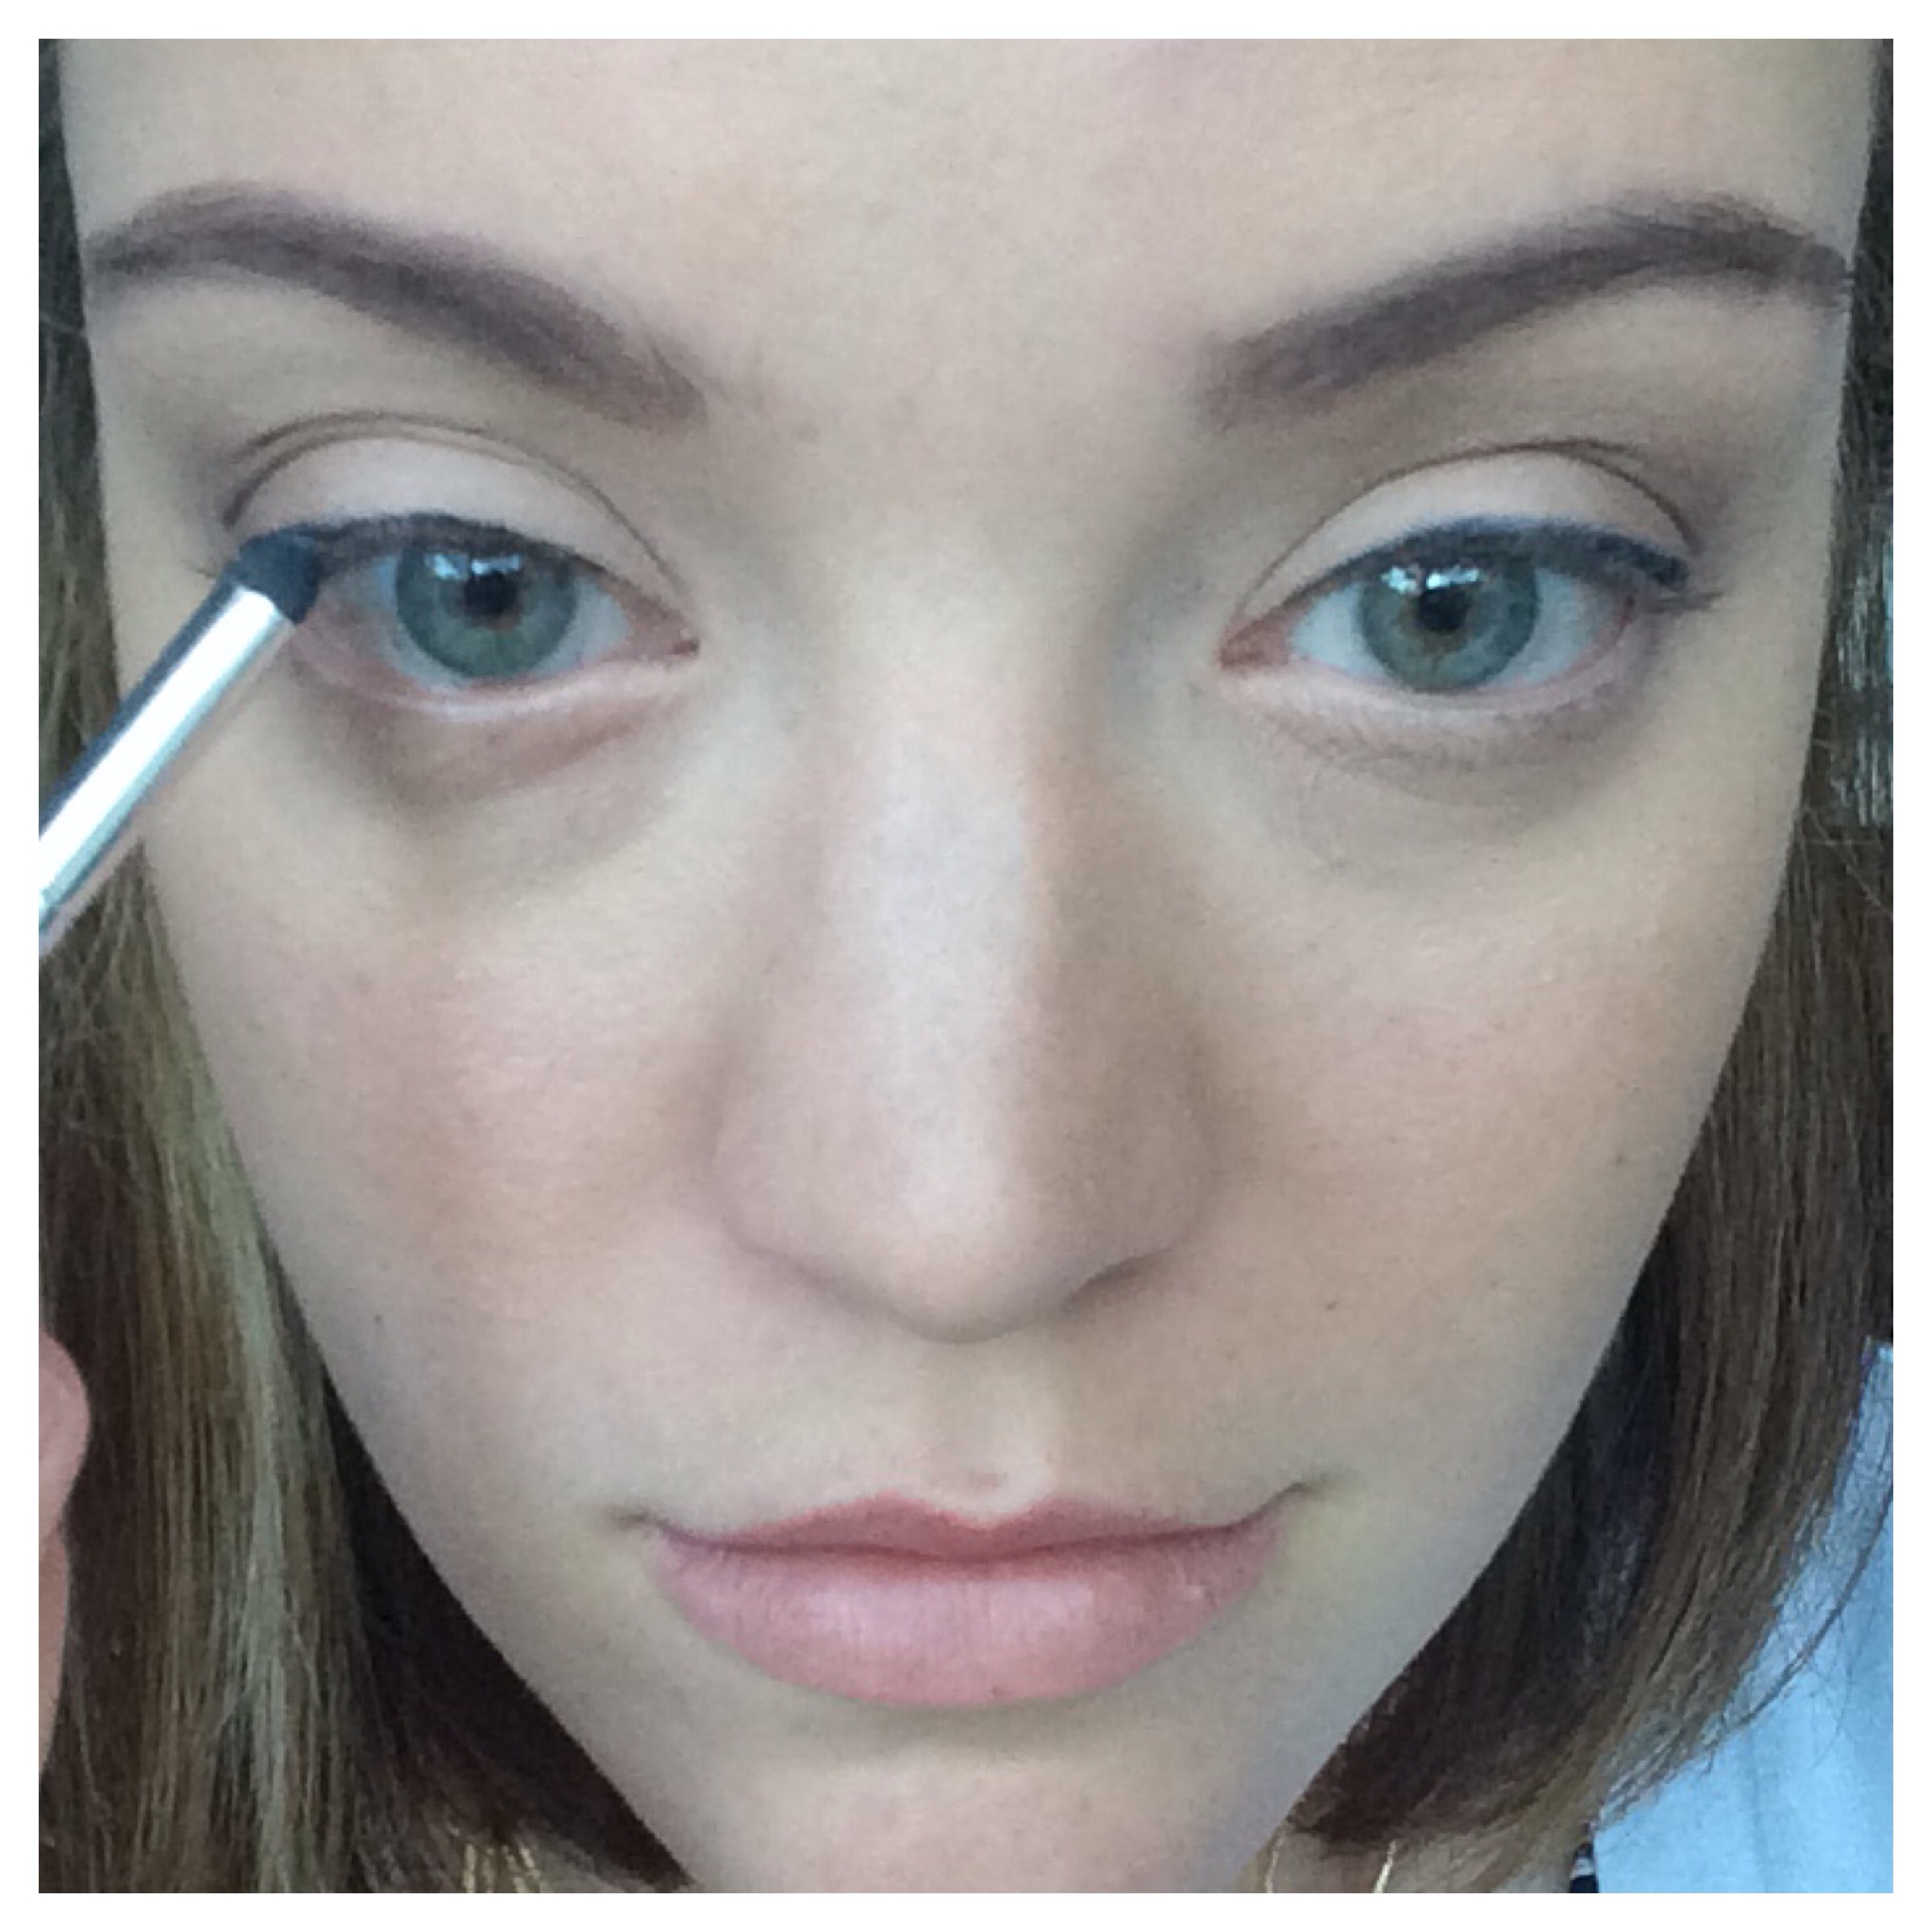
I can smudge it out with a Smudging Sponge. I prefer the ELF Essential Smudging Sponge. Again, $1 y’all.
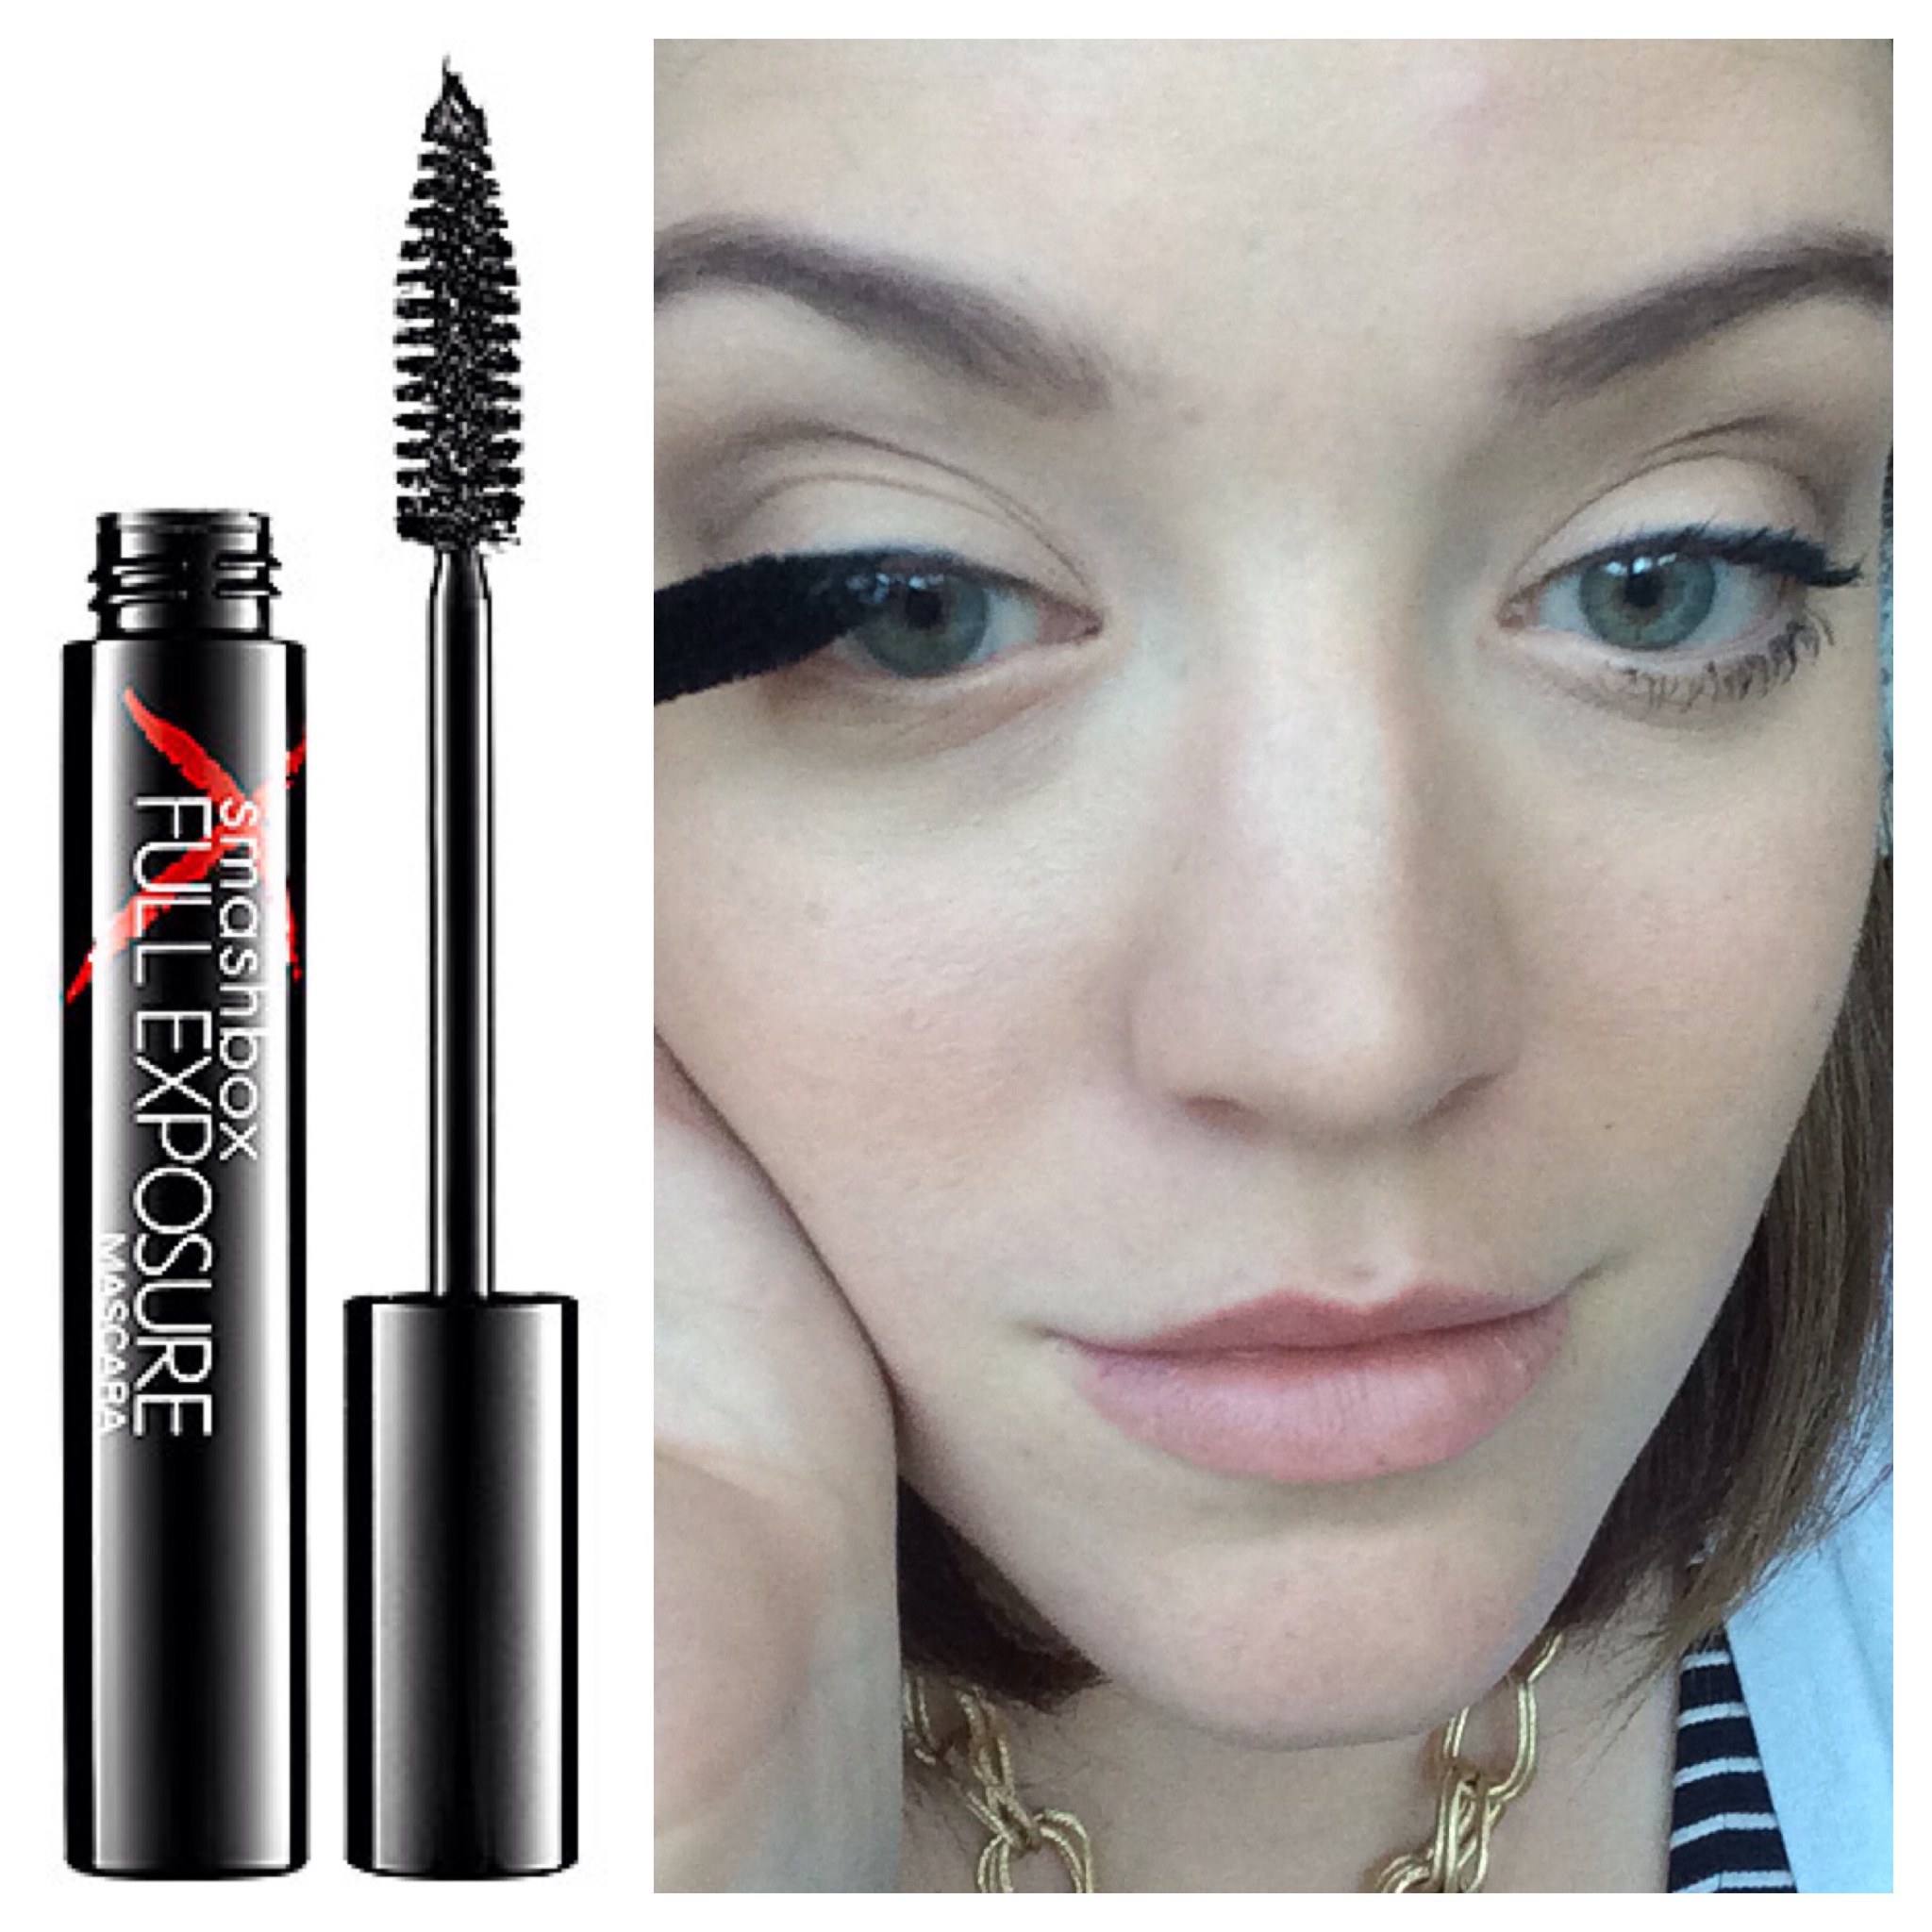
Lastly for the eyes, I apply a coat or two of mascara. Right now my go-to is the Smashbox Full Exposure Mascara.
I like to do some light contouring even on my every day look. It gives the illusion that I have some semblance of cheekbones. The most important part of this step is the fish face. I use my fingers to find where the bottom of my cheekbone is, make the fish face, then use a contouring brush (like the Real Techniques Detailer Brush) to fill in the space under my cheekbone. For contouring, I like to use Benefit Hoola. It’s a bronzer that is matte, not shimmery. It’s also more brown than most bronzers. You never want to use an orangey, shimmery bronzer for contouring.

Then I use the Sonia Kashuk Travel Blusher to apply blush. I used Clinique New Clover Blush. Again, fish face. I swipe it along the length of my cheekbones, not on the apples of my cheeks.

Next, I use my favorite new toy to highlight my face. The Hourglass Ambient Lighting Palette is totally worth the splurge. It comes in 3 colors: Gorgeous, Beautiful, and Wow. Just kidding. Please take a moment to admire the pearly perfection that is this palette. These colors are made to give your face the best light possible. It gives the illusion that your face is always professionally and strategically lit. Kind of like Morticia Addams.
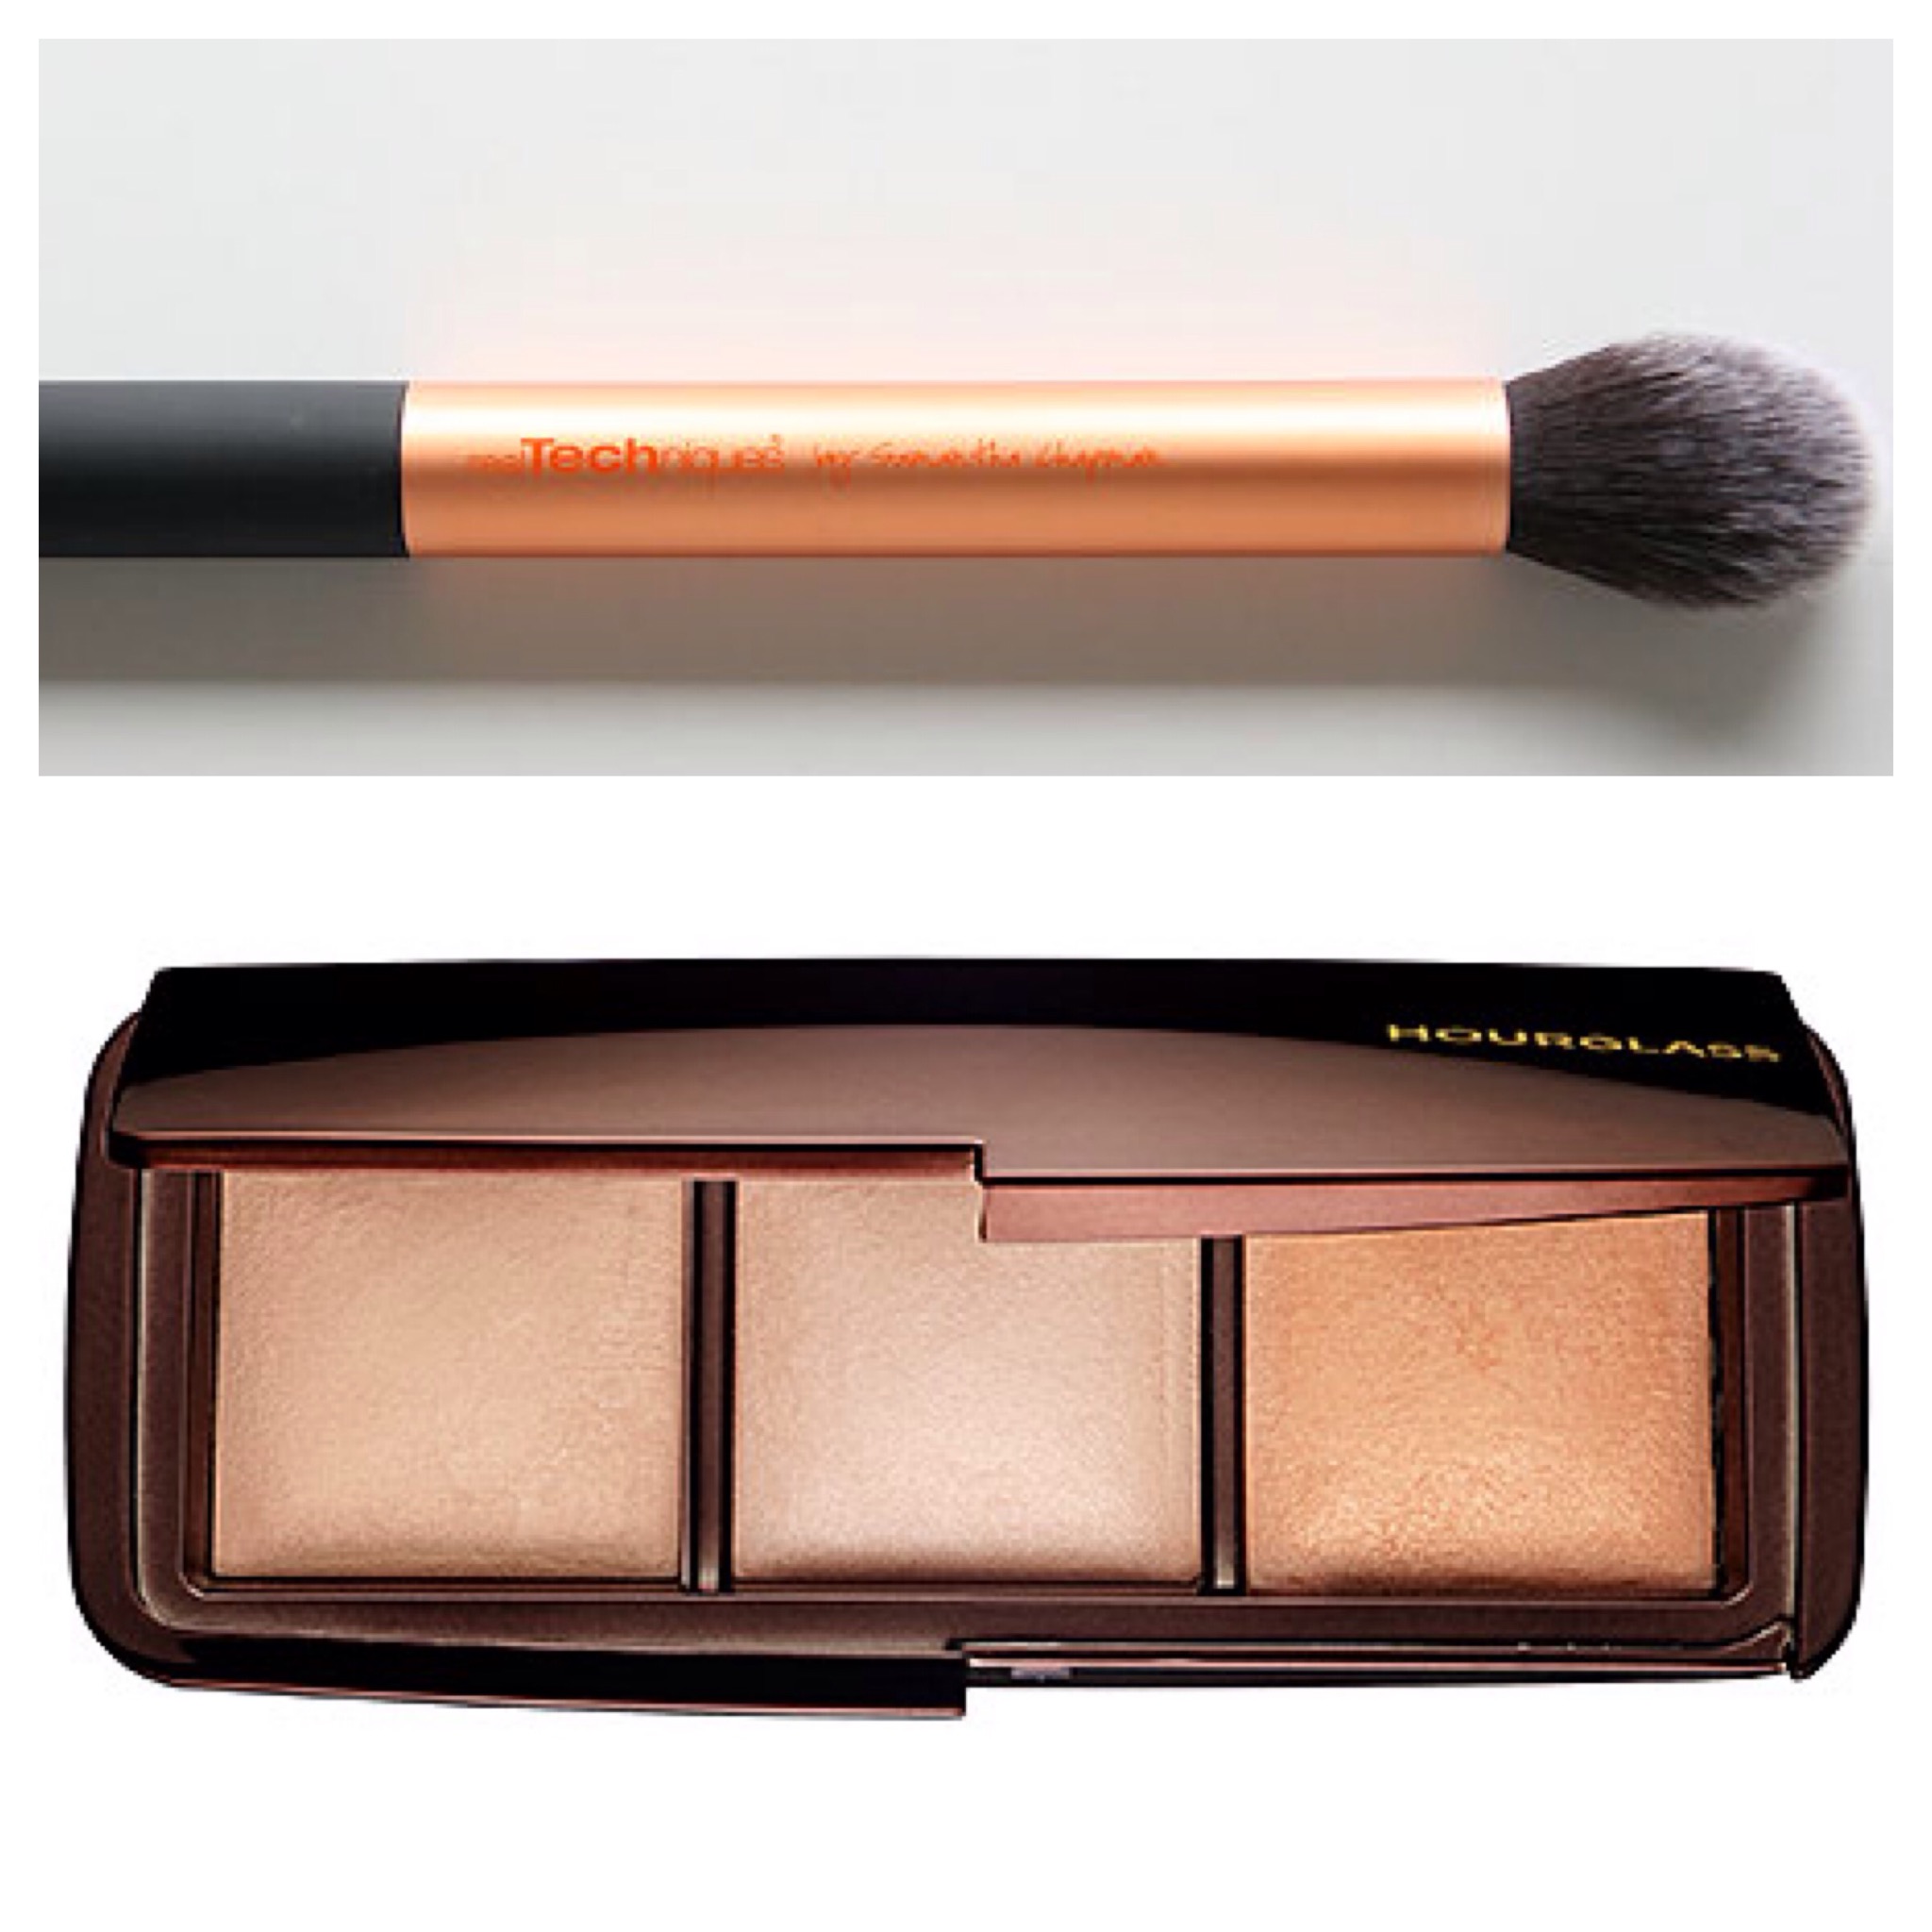
From the left: Dim Light, Incandescent Light, and Radiant Light
I use the Real Techniques Contour Brush to apply all three. First, I put Dim Light under my eyes (it also sets my concealer), above my eyebrows, and down the bridge of my nose. This one is my favorite because it highlights your skin without being too shimmery.
Then I use Radiant Light along where I put my blush (gives it an extra kick of bronze). *fishface*
Lastly, I put just a touch of Incandescent Light to highlight the top of my cheekbone.

FINALLY, it’s time for lipstick! My lipstick choice typically depends on my mood, but I try to keep it neutral as well. For this look, I used NYX Matte Lipstick in Whipped Caviar.

Here is the completed look! Feel free to leave any questions in the comments or on my Instagram (@lolliesandlattes). Thanks for stopping by! See y’all next time!
Marissa

Beautiful 😍
LikeLike